Product Photography Pipeline
Generate, edit, and process product images — from studio shots to lifestyle placements. Compare models, explore background removal, upscaling, outpainting, and the multi-seed pick-the-best workflow.
A product photography shoot costs $500-$5,000 and takes days to coordinate. This pipeline replaces most of that with a single terminal session — generate studio shots, place products into lifestyle scenes, create ad variations, and upscale for print. No Photoshop, no manual masking. Every image on this page was generated with modl.
The pipeline
1. Generate     → Studio product shot (or use your own photo)
2. Remove bg    → Clean transparent background
3. Edit         → Place into lifestyle scenes, compare models
4. Style        → Ad variations — cyberpunk, retro, sketch
5. Text         → Branded mockups with accurate text rendering
6. Outpaint     → Extend to widescreen for banners
7. Upscale      → 4x for print/web hero images
Each step is a single modl command.
—fast runs in 4 steps (~10x faster). —fast 8 runs in 8 steps (~6x faster, better for text). Both use a Lightning distillation LoRA. See the fast inference guide for details.
Which model for what
qwen-image --fast 8~15sOnly model with accurate text rendering qwen-image --fast~8sHighest detail, good lighting qwen-image-edit --fast~10sBest edit fidelity, preserves product For e-commerce, the edit workflow is usually more valuable than generation from scratch — start with a real product photo and place it into scenes. Use —fast for iteration, —fast 8 when text accuracy matters.
Step 1: Generate product shots
Three models compared on the same prompt at comparable speeds. Each produces a distinct aesthetic.
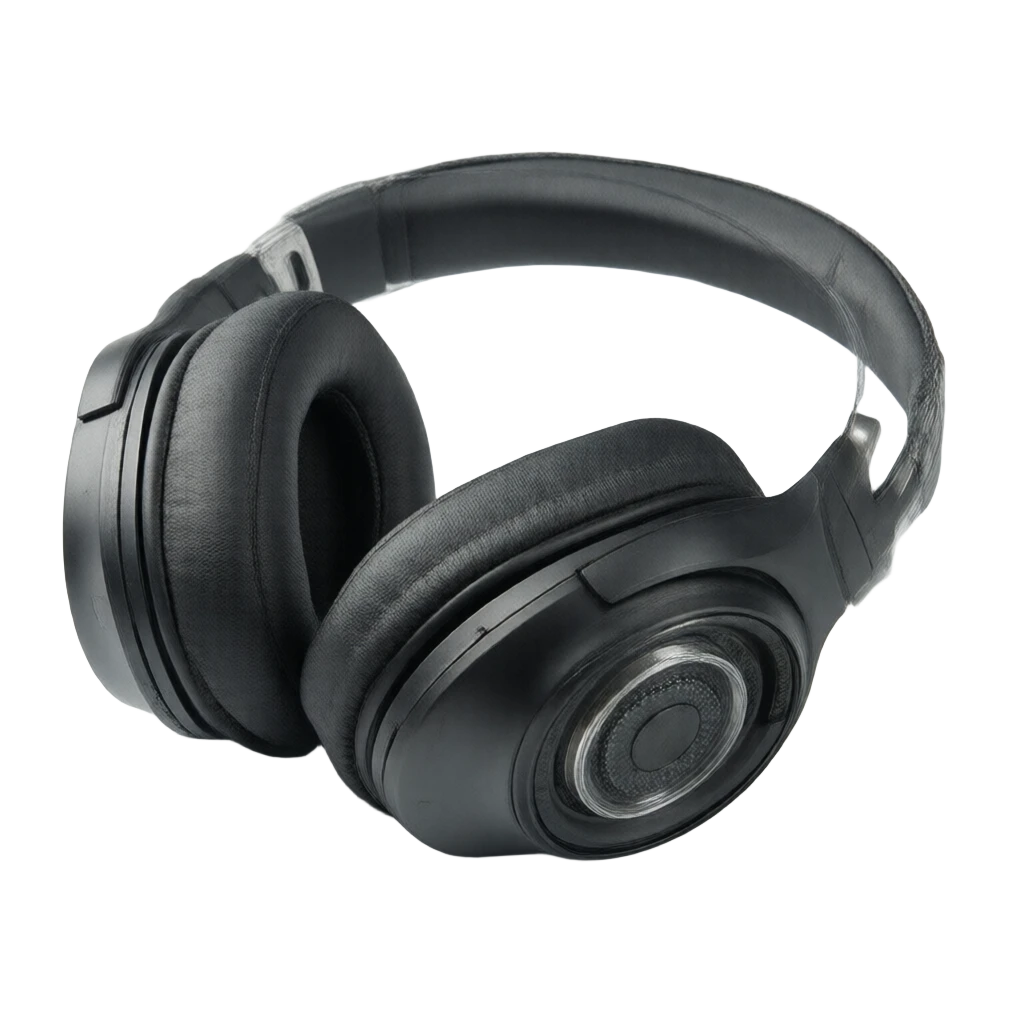
Headphones
“A premium wireless headphone on a clean white surface, product photography, studio lighting”
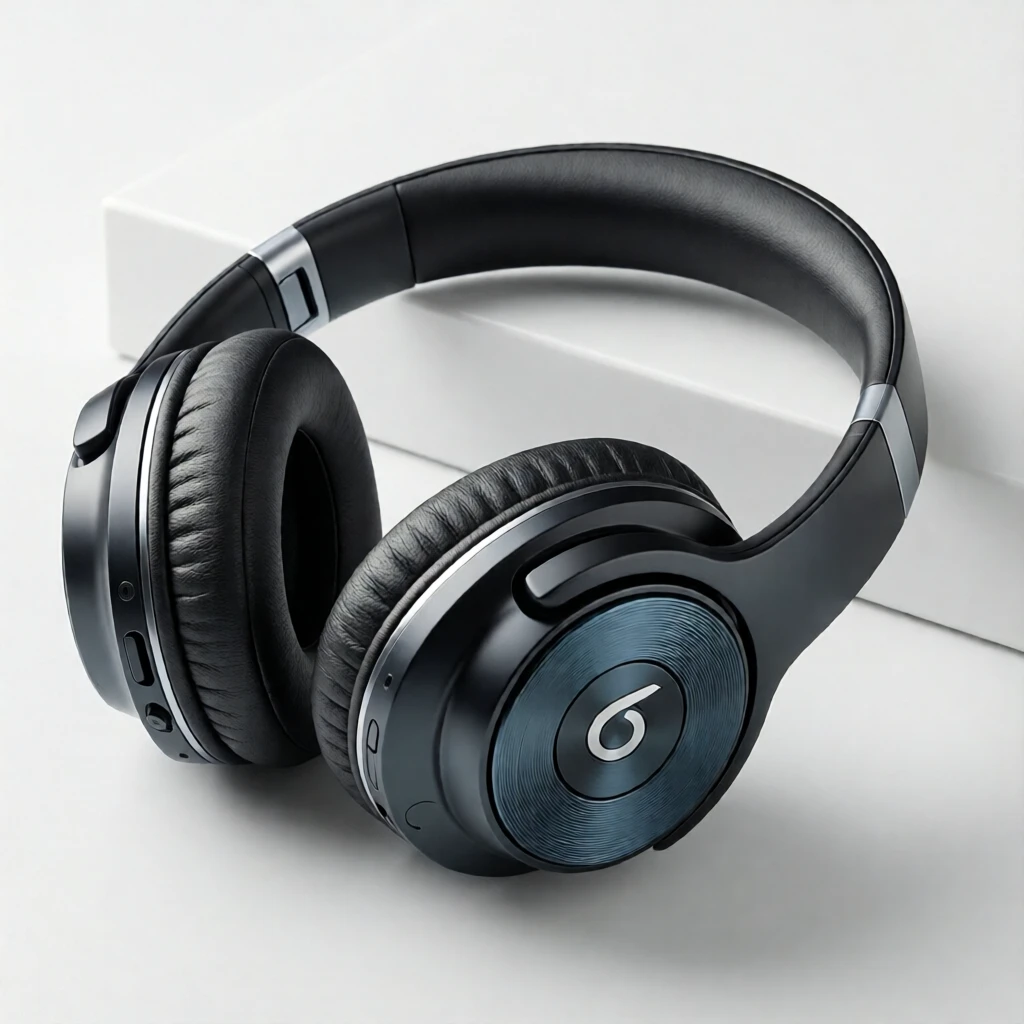
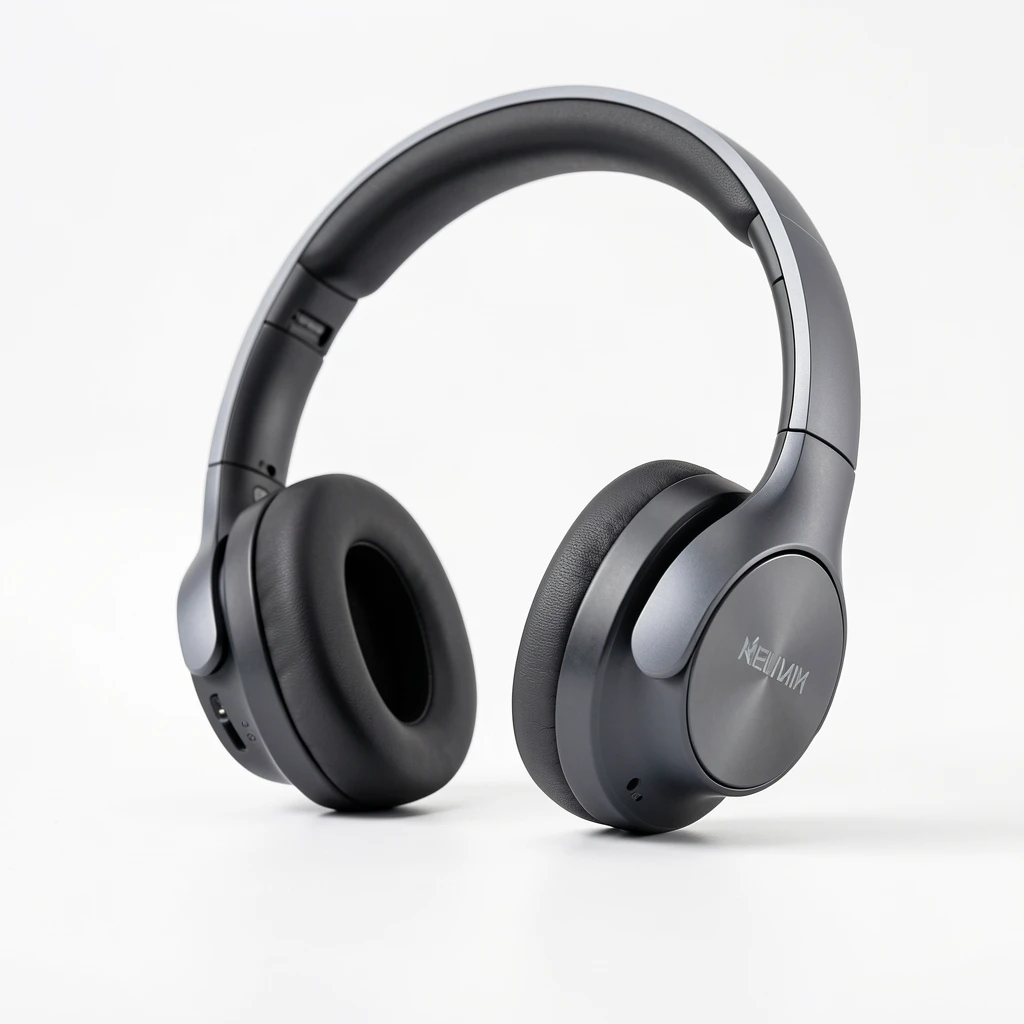
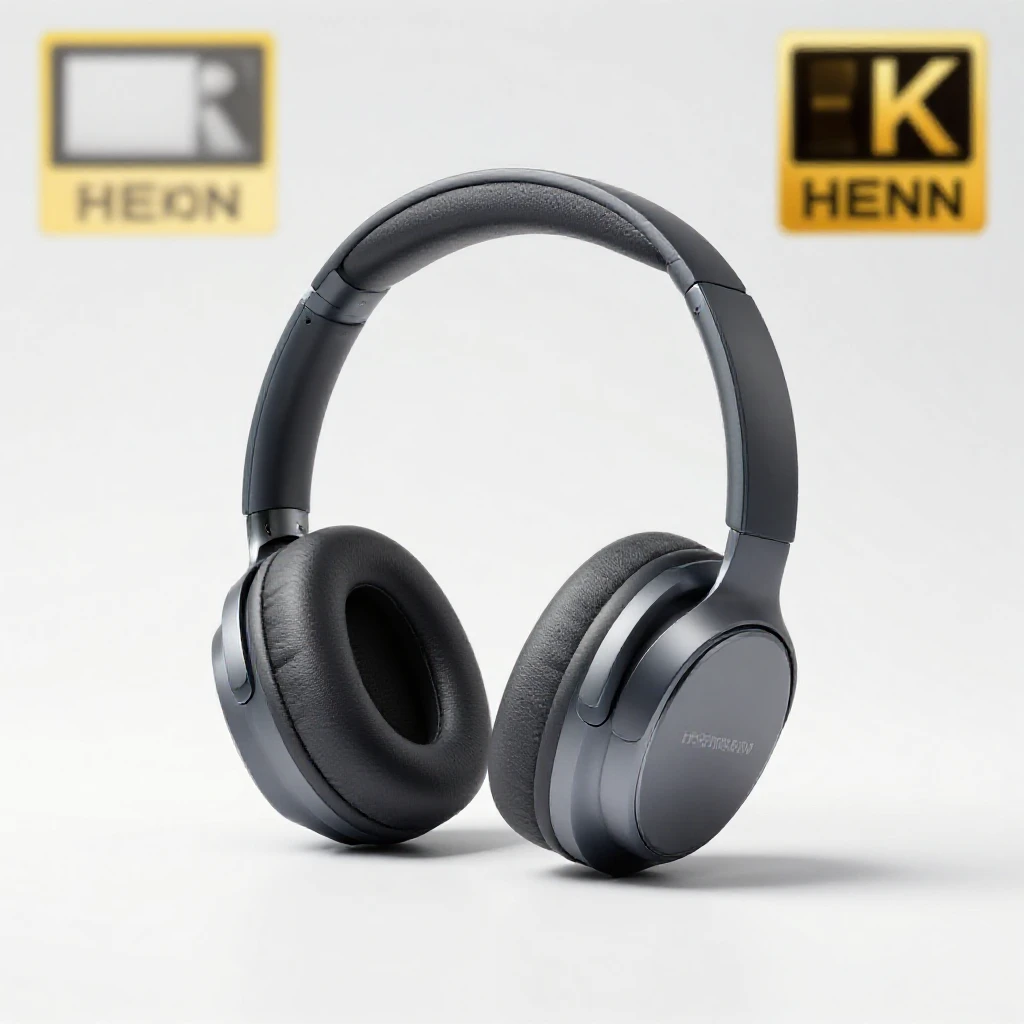
Same prompt, three models. Qwen renders product details most accurately. Klein 9B has a photorealistic style. Z-Image Turbo is fastest.
Perfume bottle
“A glass perfume bottle with amber liquid, luxury cosmetics photography, soft gradient background”
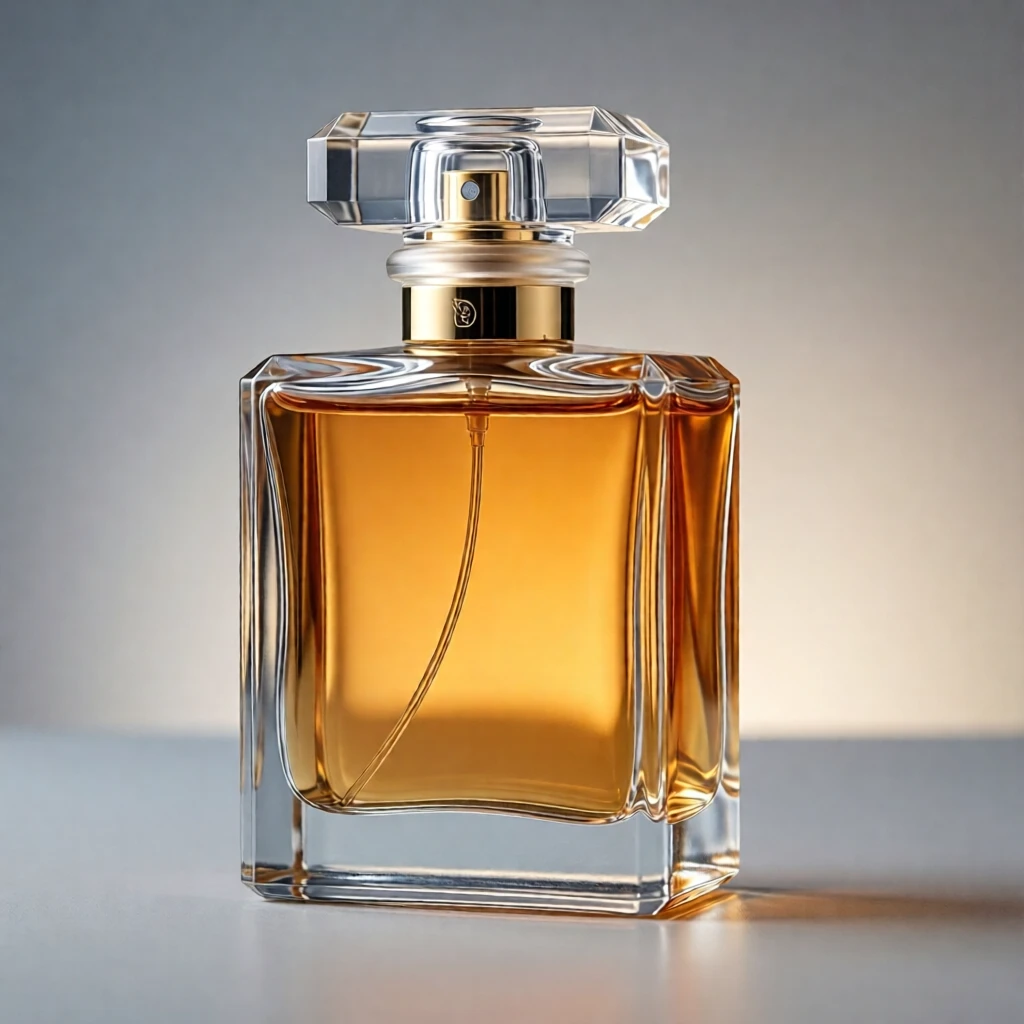
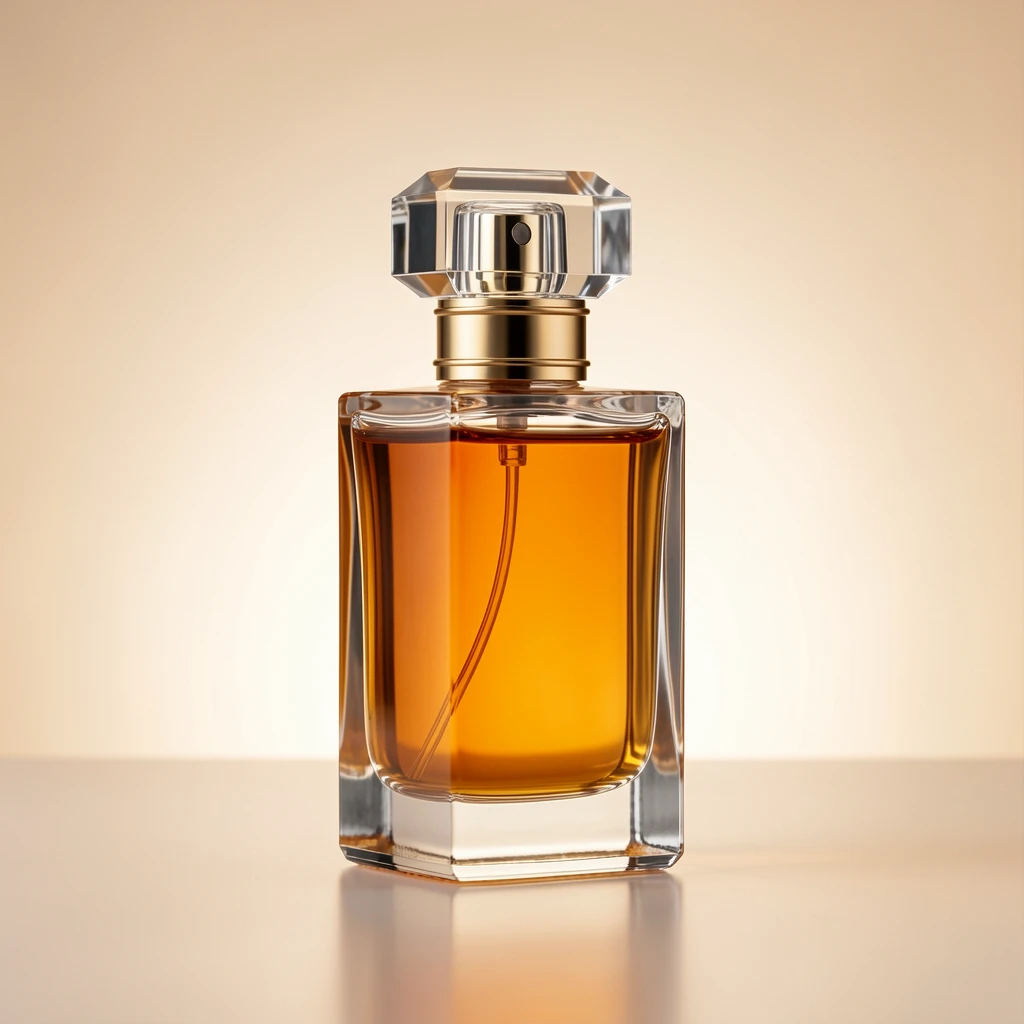
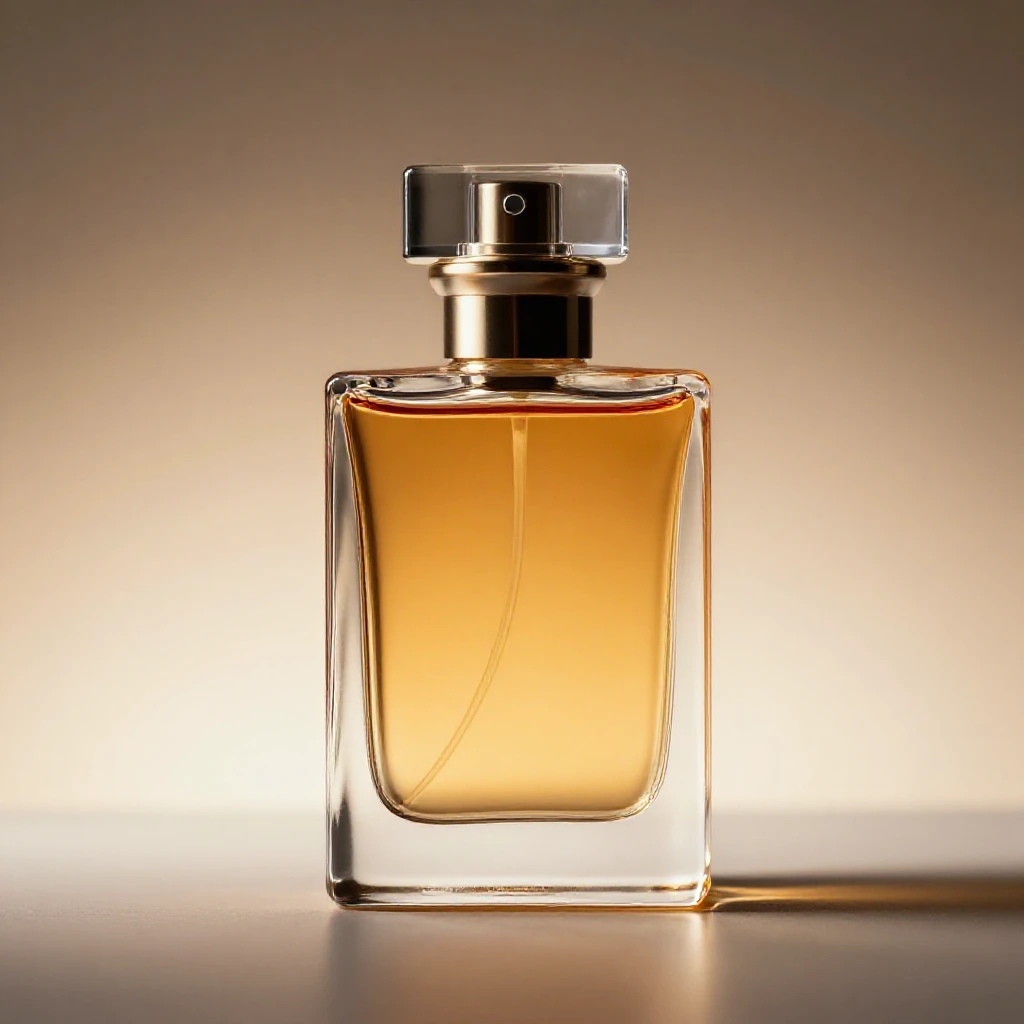
Glass and liquid rendering. All three handle reflections well across different aesthetic styles.
Coffee mug
“A ceramic coffee mug with minimalist design on a wooden table, warm morning light”
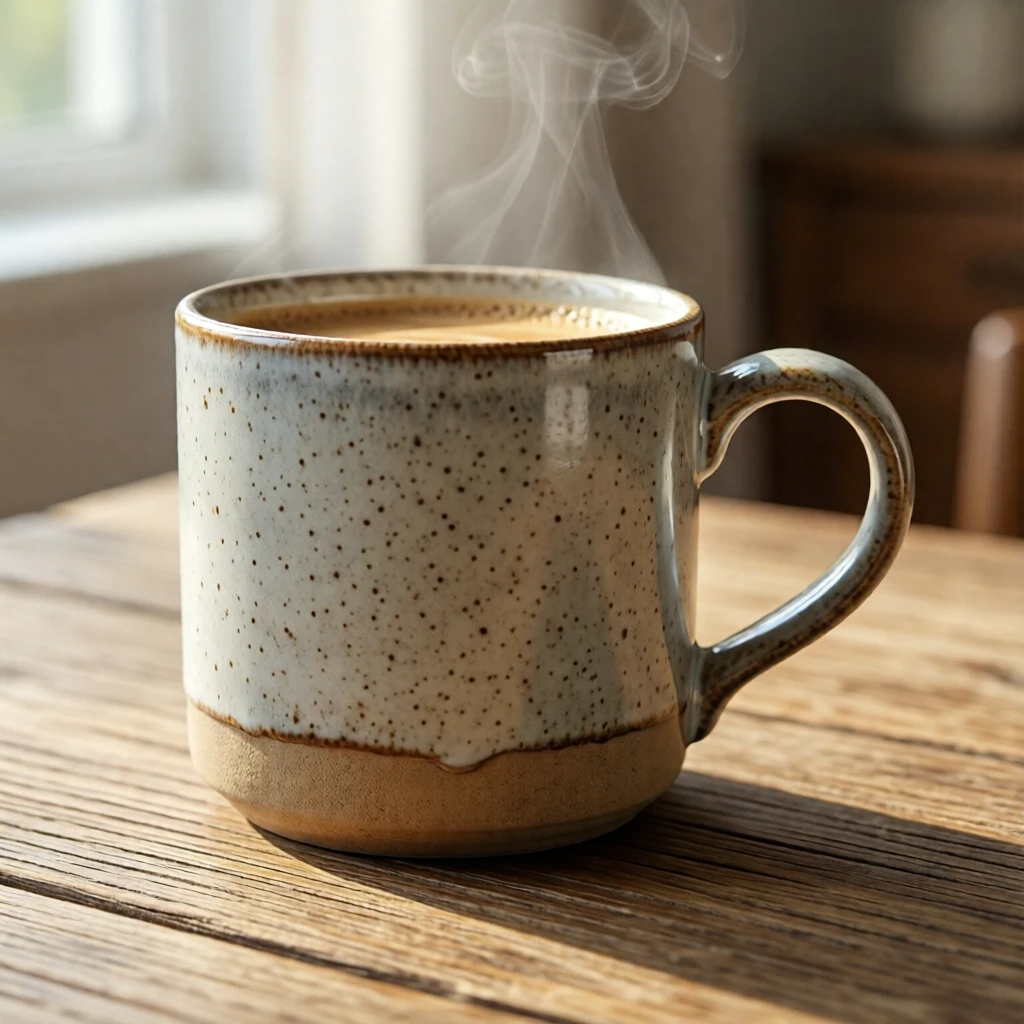
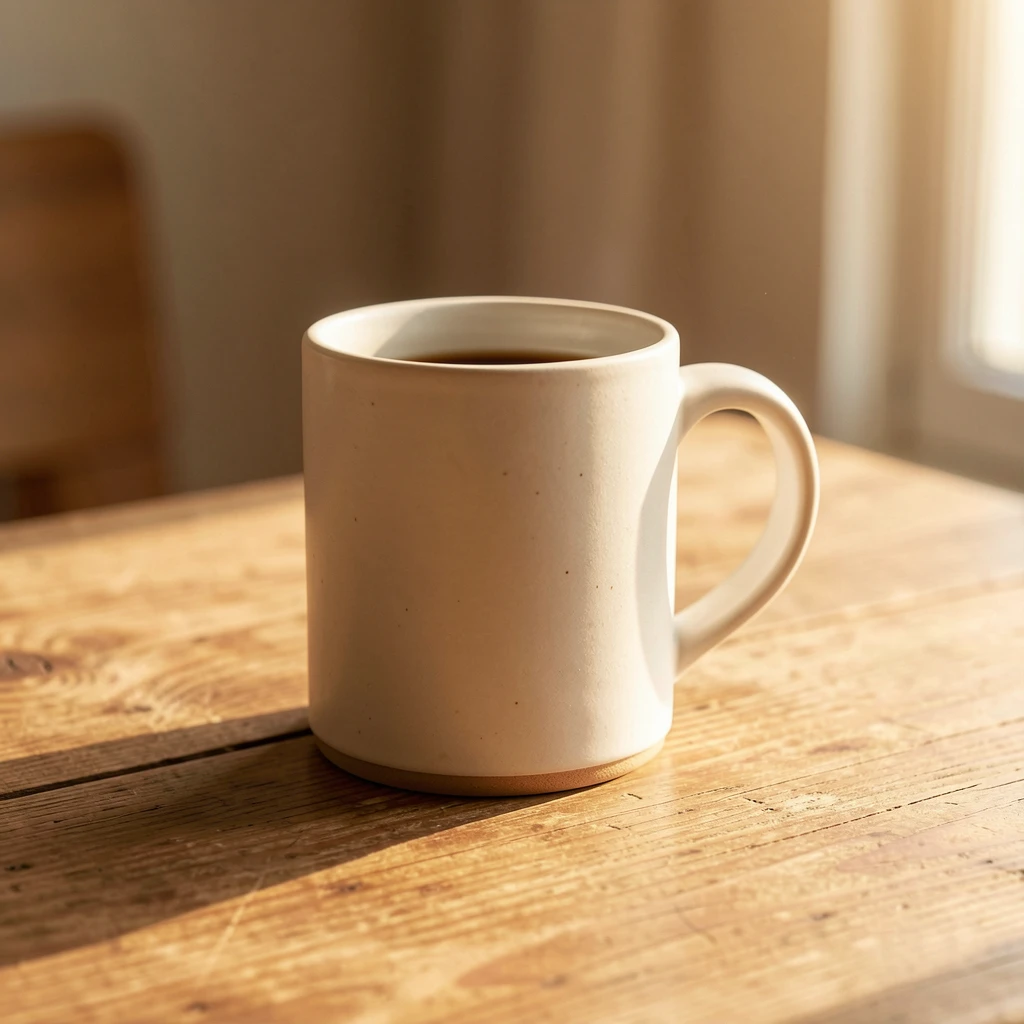
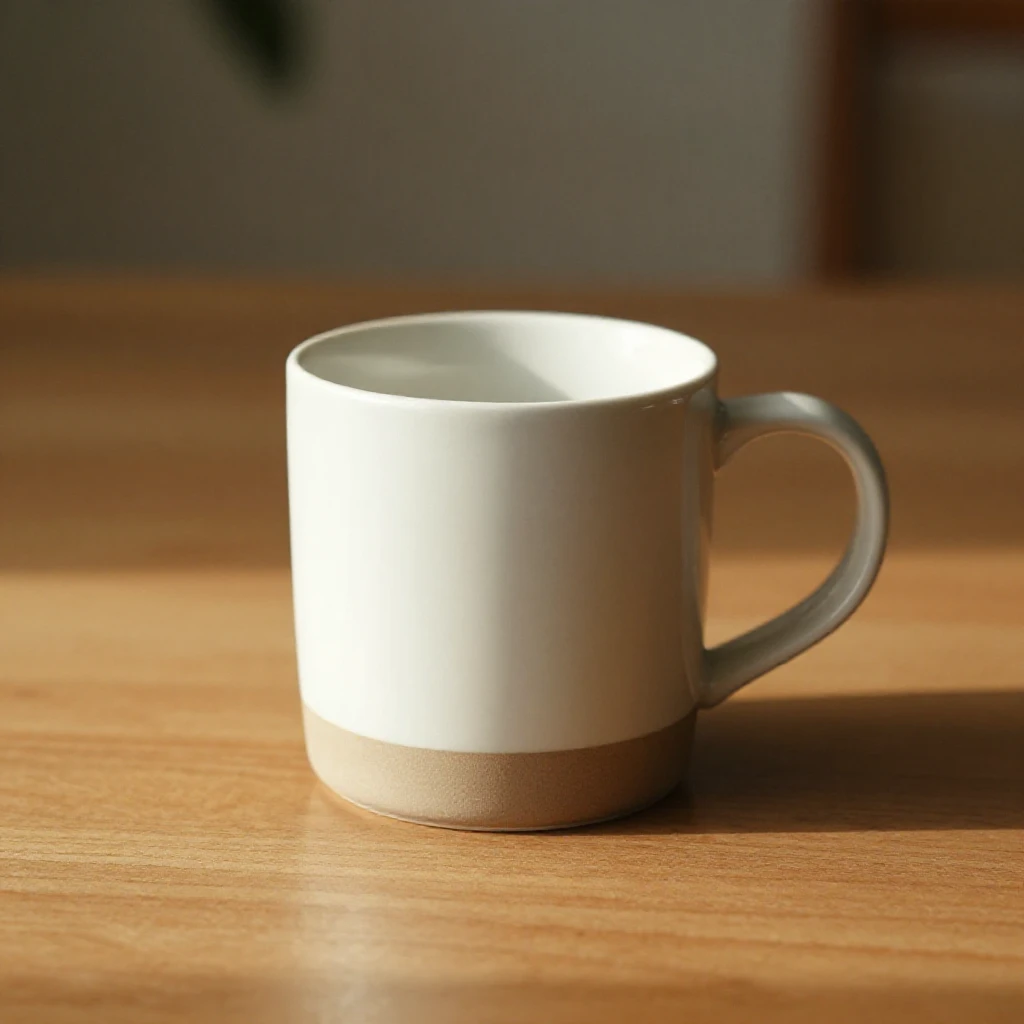
Warm product photography. Each model has a distinct aesthetic — pick the one that fits your brand.
Step 2: Remove background
One command removes the background, producing a transparent PNG.

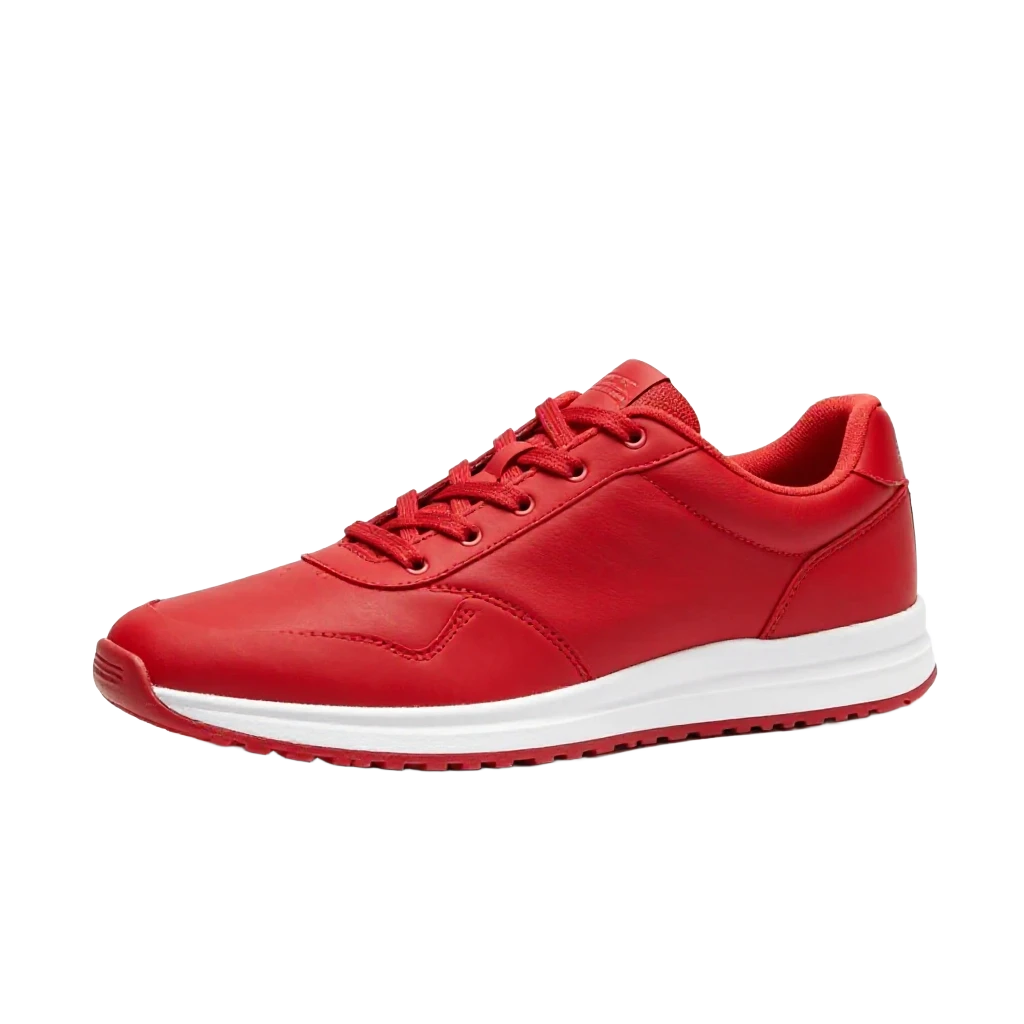
Clean edge isolation — works on photographs and AI-generated images.
Remove-bg works on AI-generated product shots just as well as photographs.
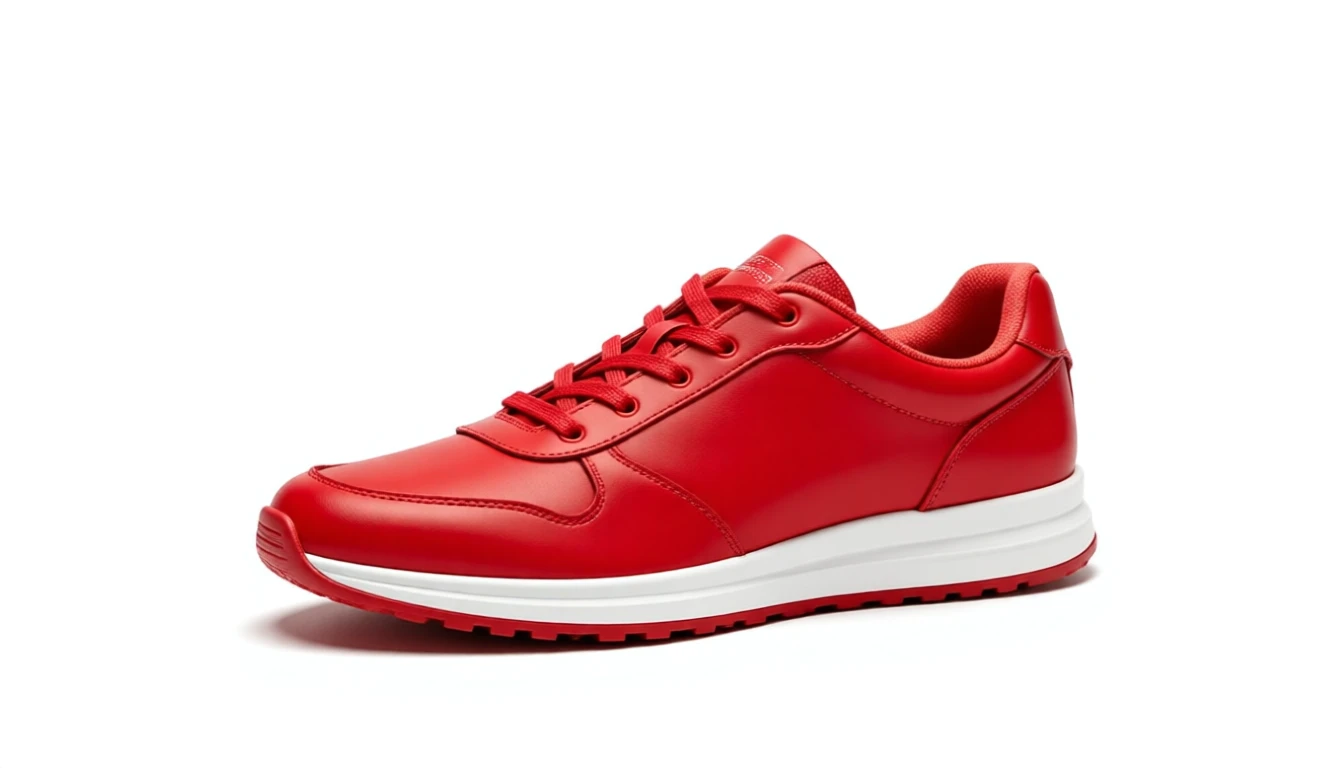
Step 3: Lifestyle placement — the multi-seed workflow
This is where the pipeline earns its keep. Take your product photo, describe a scene, and generate multiple variations. Each seed produces a different composition and lighting — generate 3-4, pick the winner. Faster and cheaper than reshooting.
Always generate at least 3-4 seeds for each scene. Run them in a loop and review — the best composition is rarely the first one.
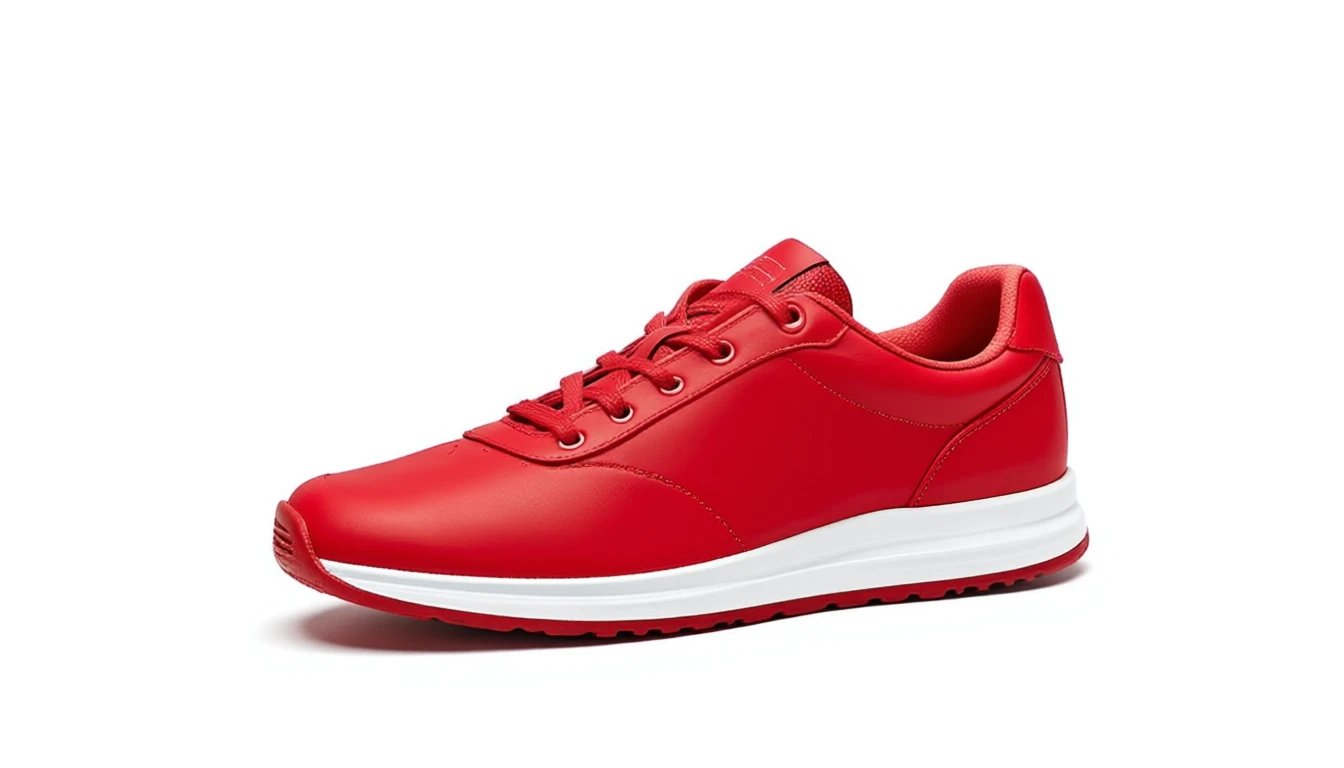
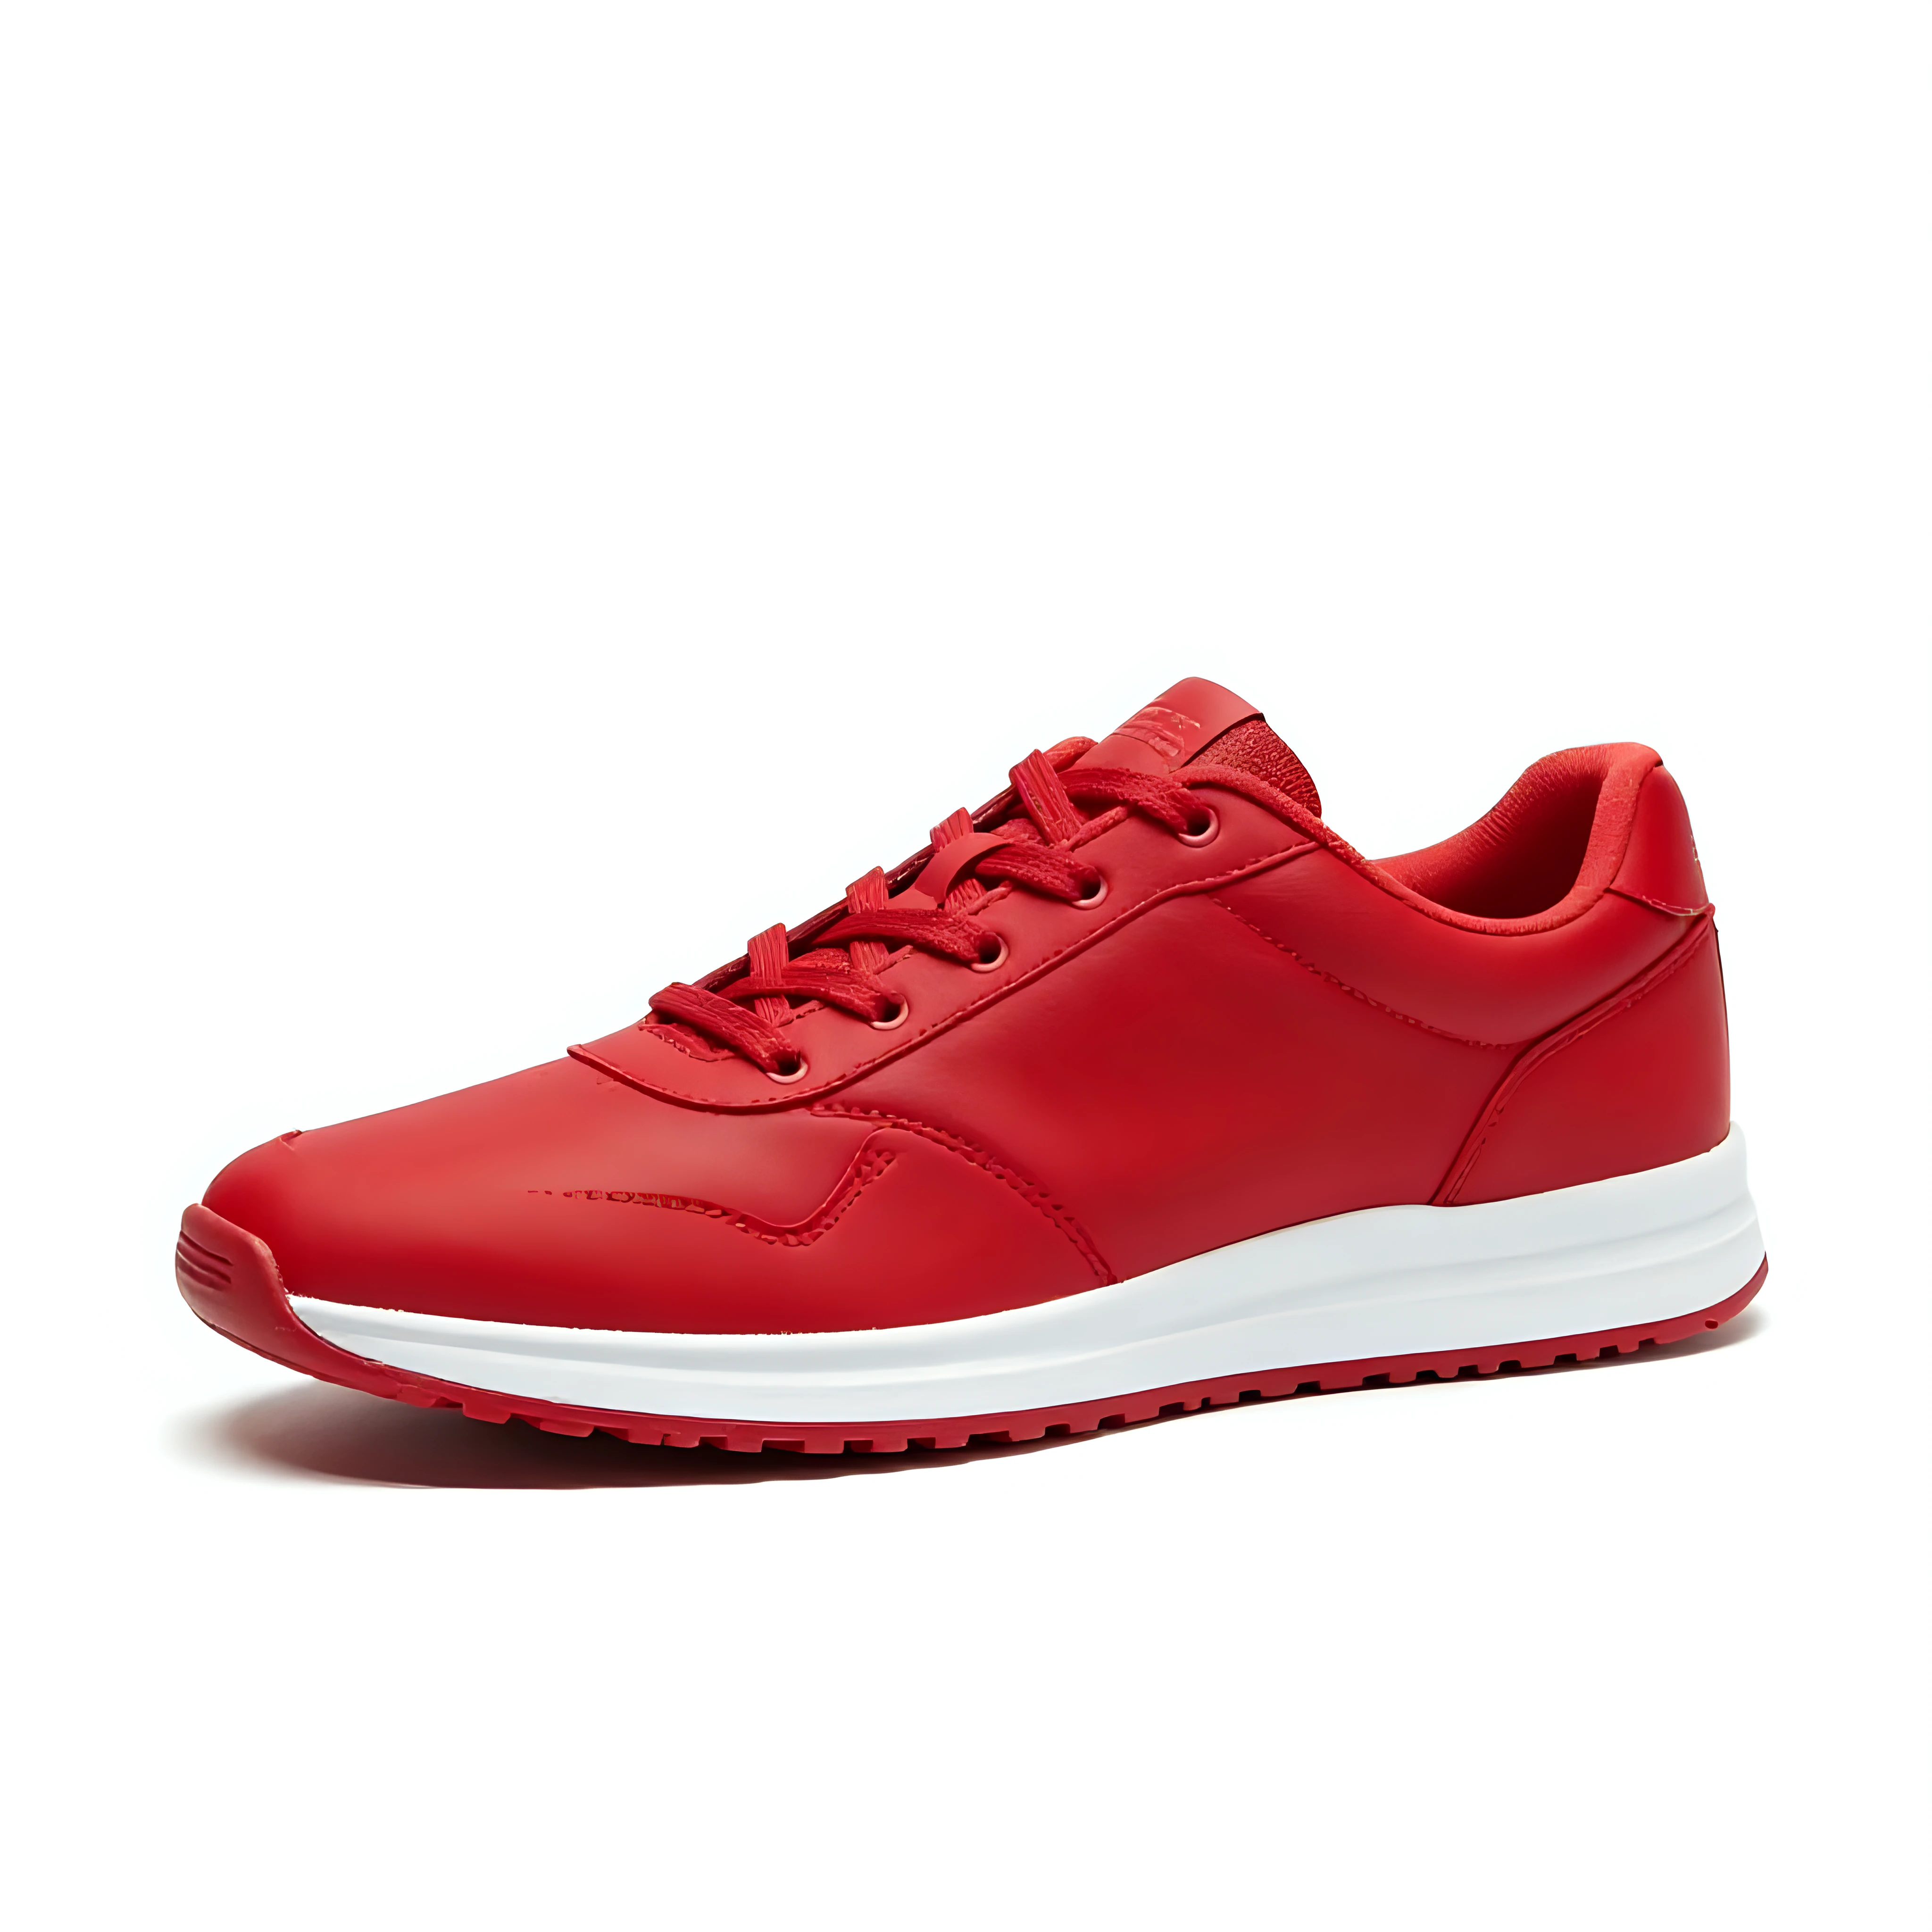
Mountain trail
“Place the sneaker on a rocky mountain trail with dramatic sunset lighting”

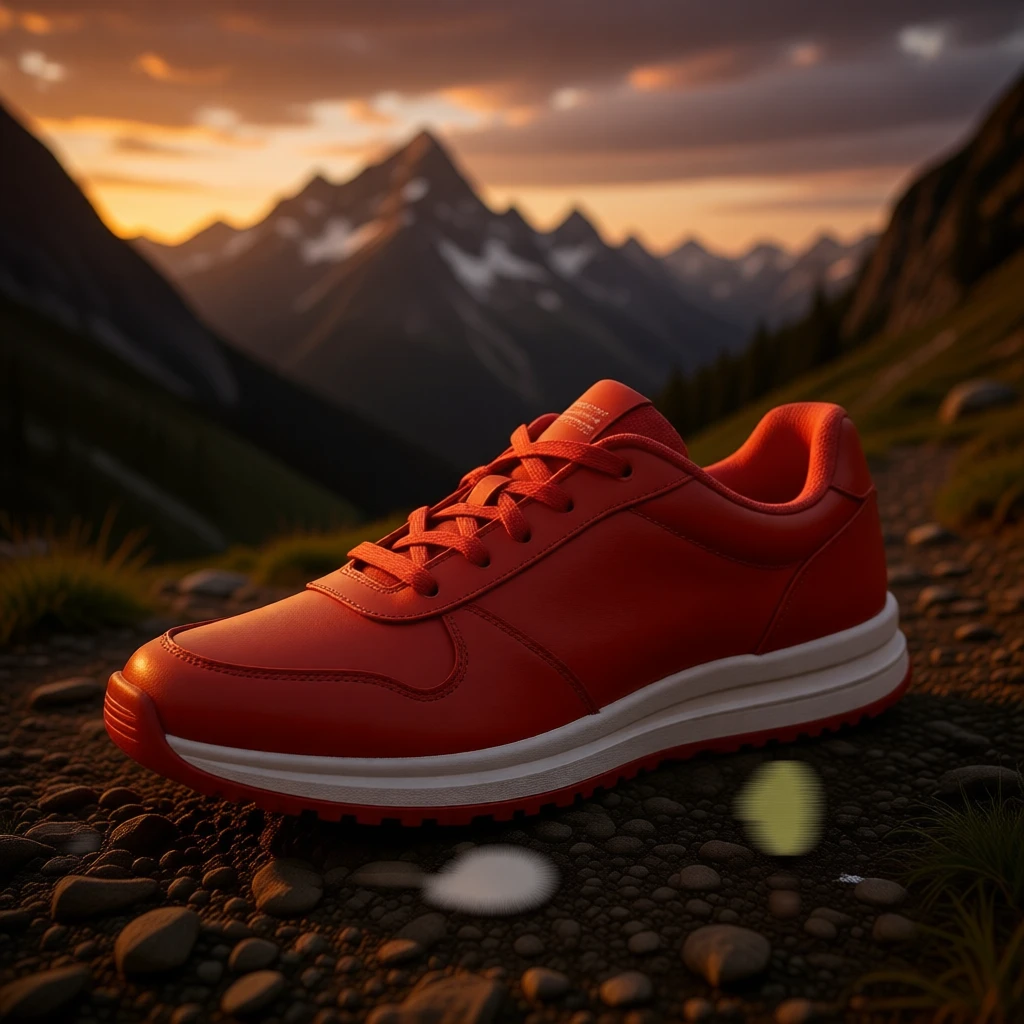
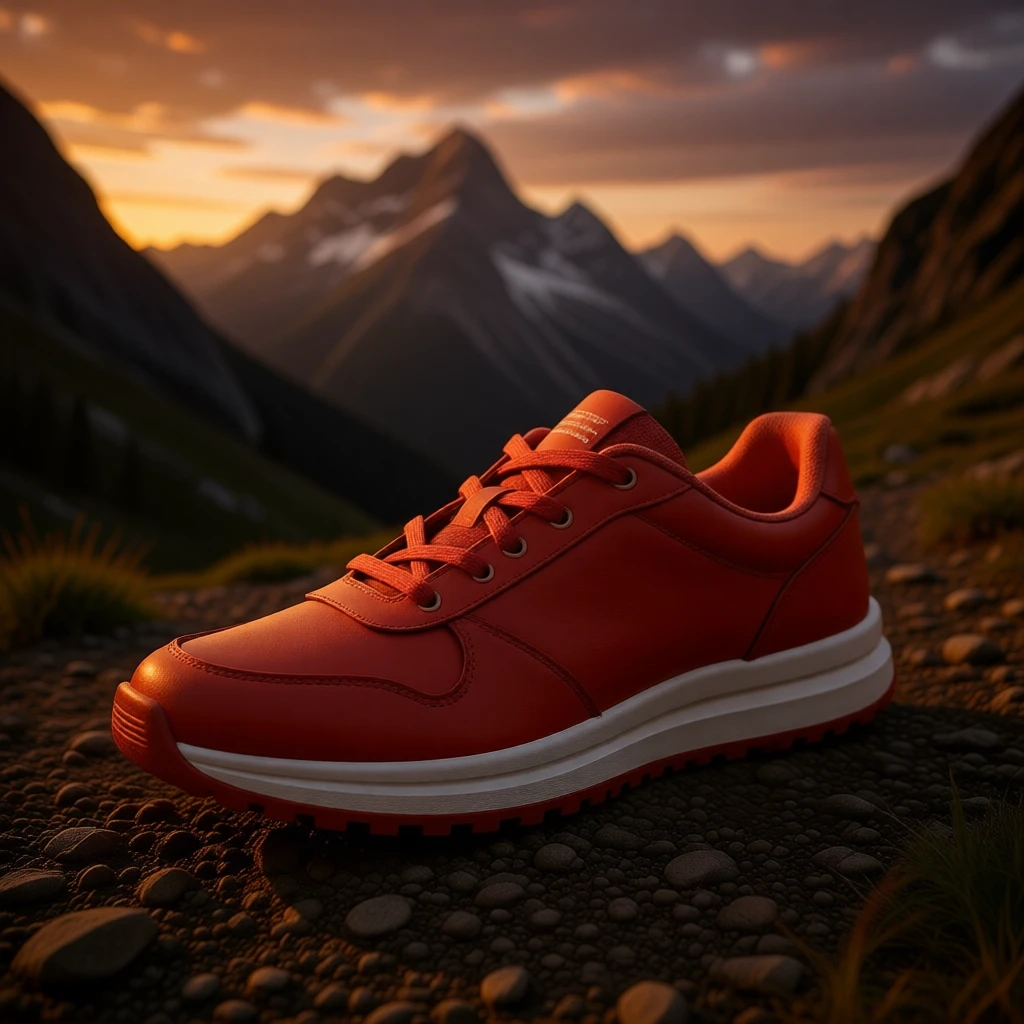
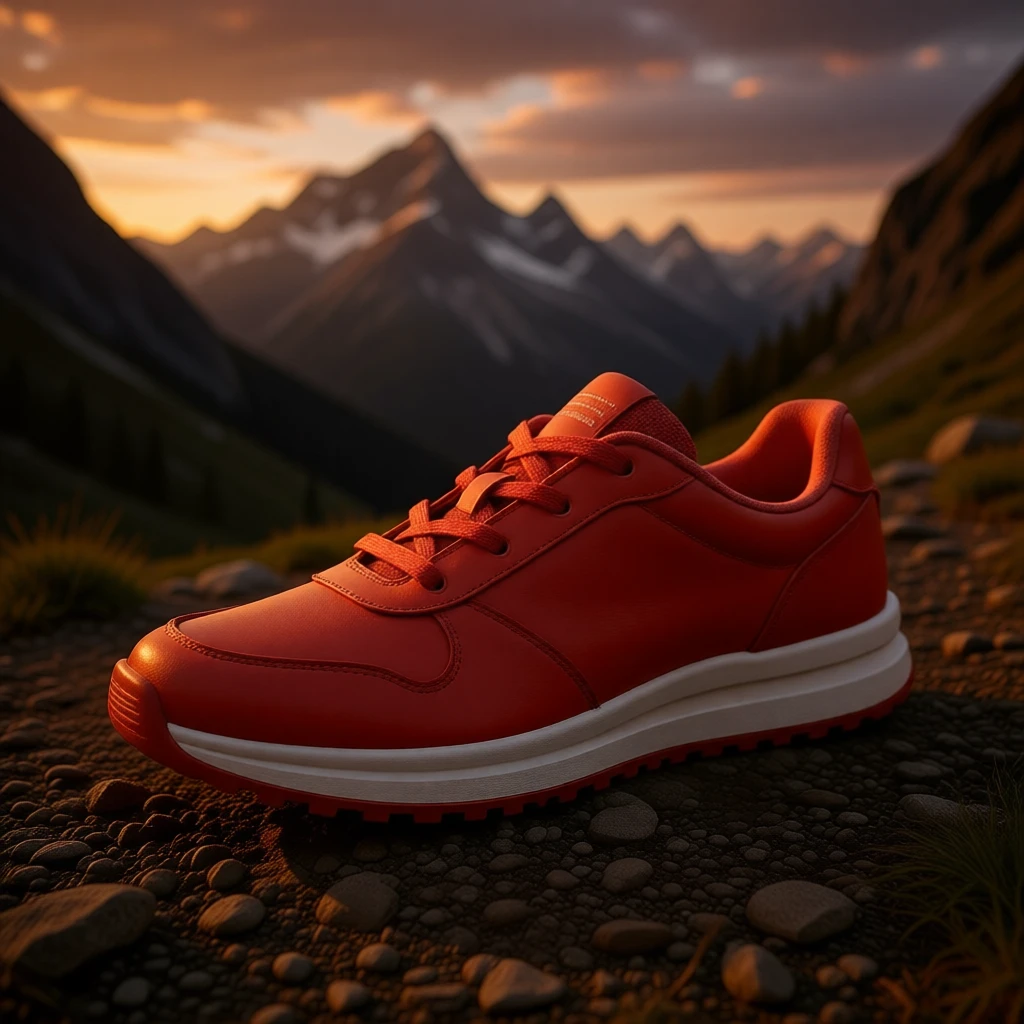
4 variations, same prompt. Pick the composition that works best for your campaign.
Gym floor
“Place the sneaker on a polished gym floor with dramatic sports lighting”
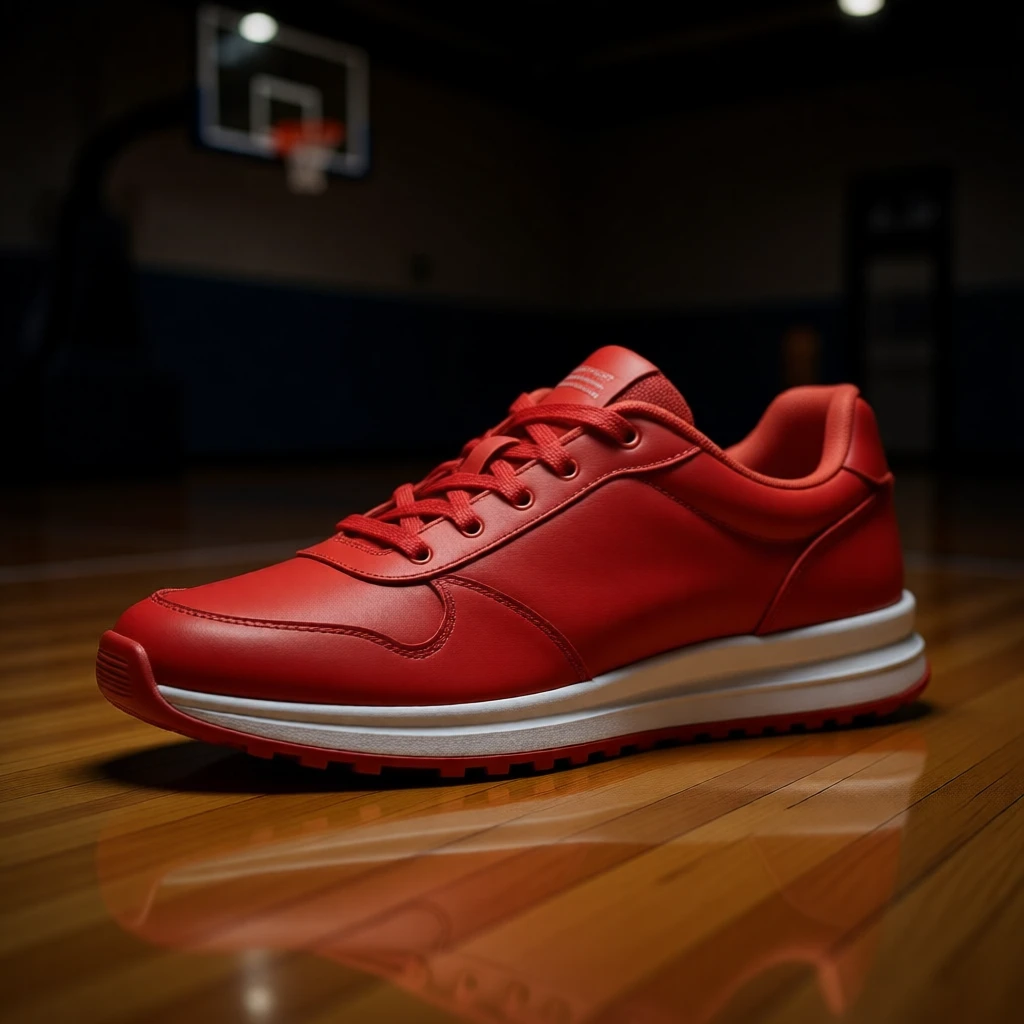
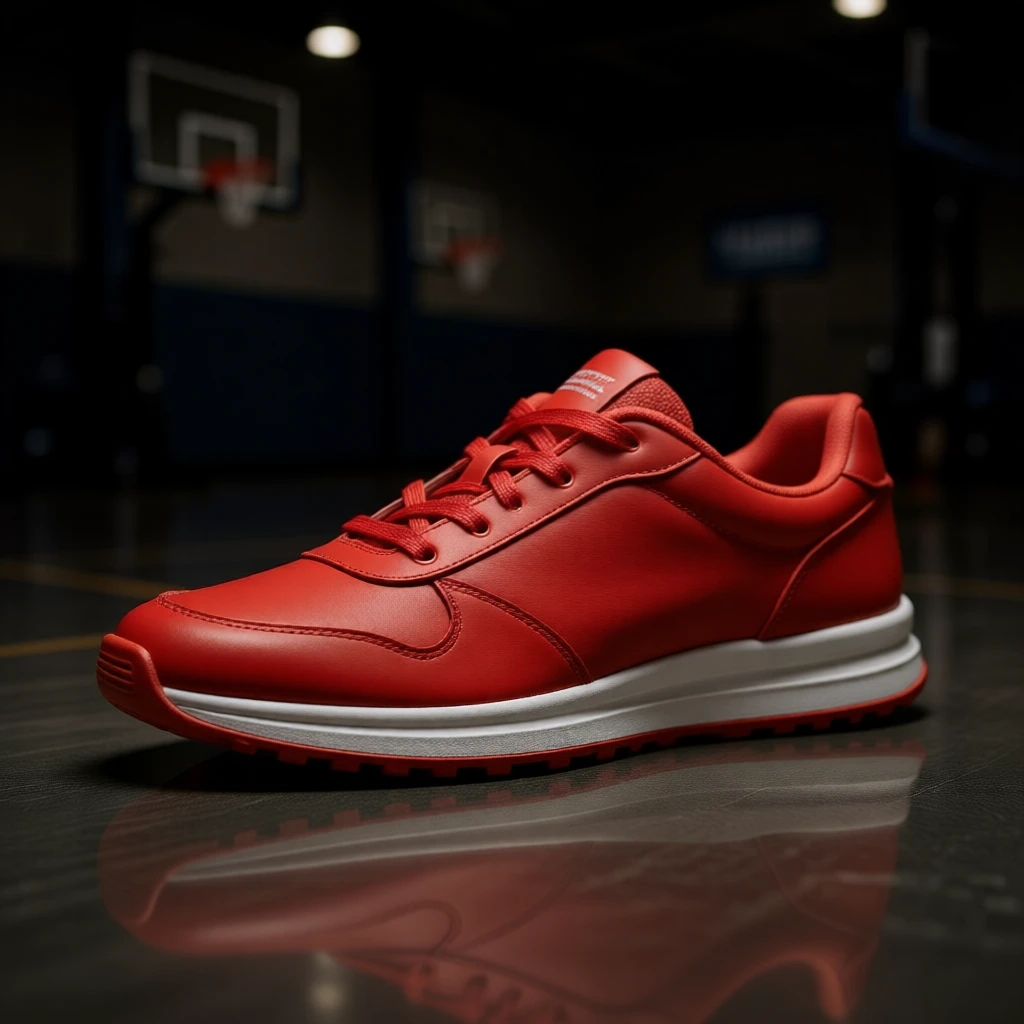
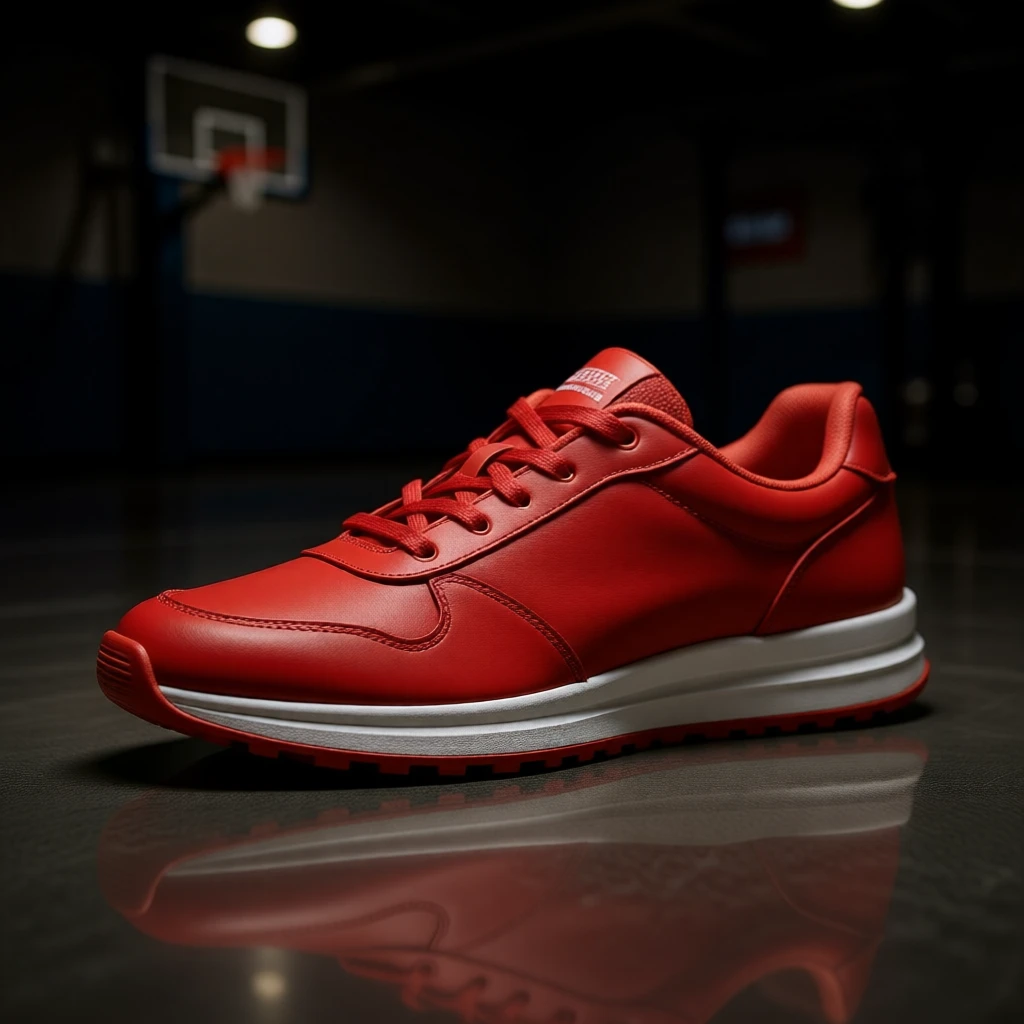
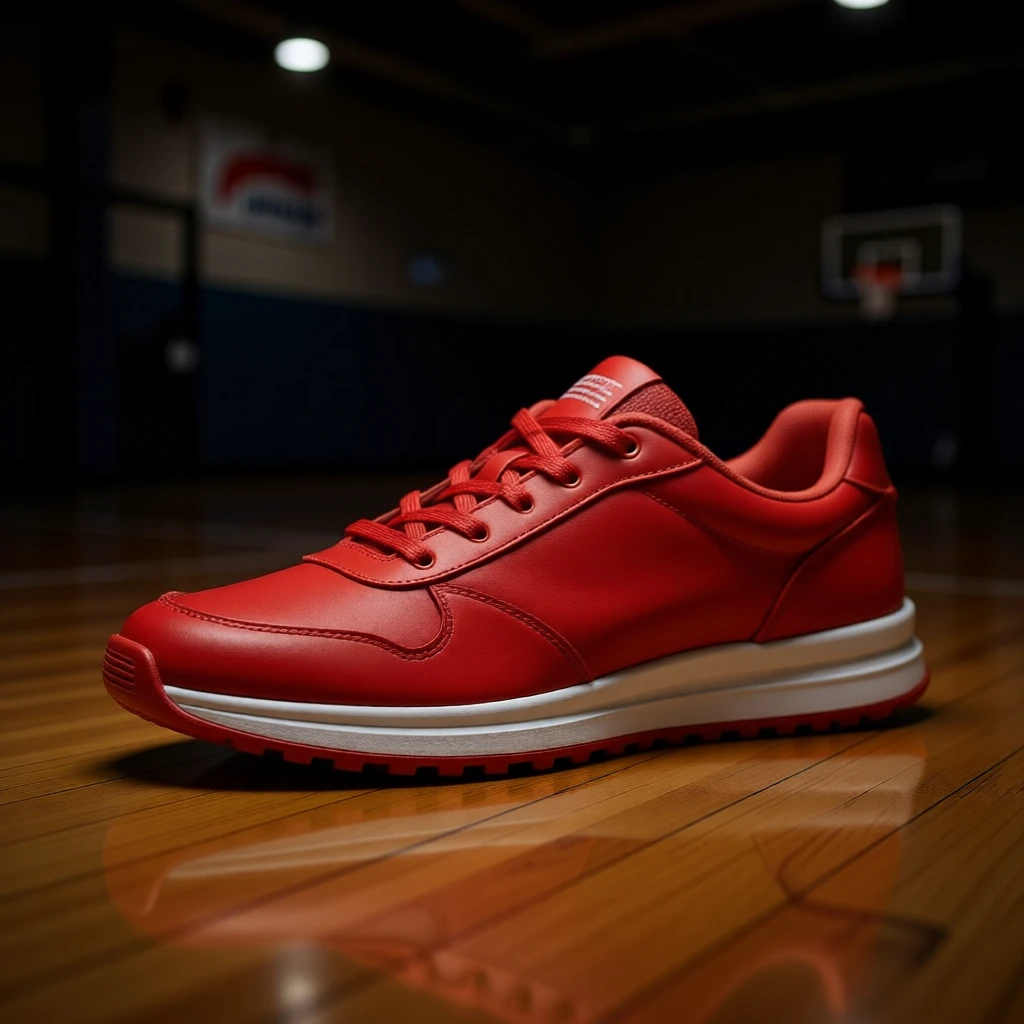
Sports context. Each seed changes the angle, reflections, and background elements.
Water splash
“Sneaker floating on a splash of water against a dark background, dynamic product photography”
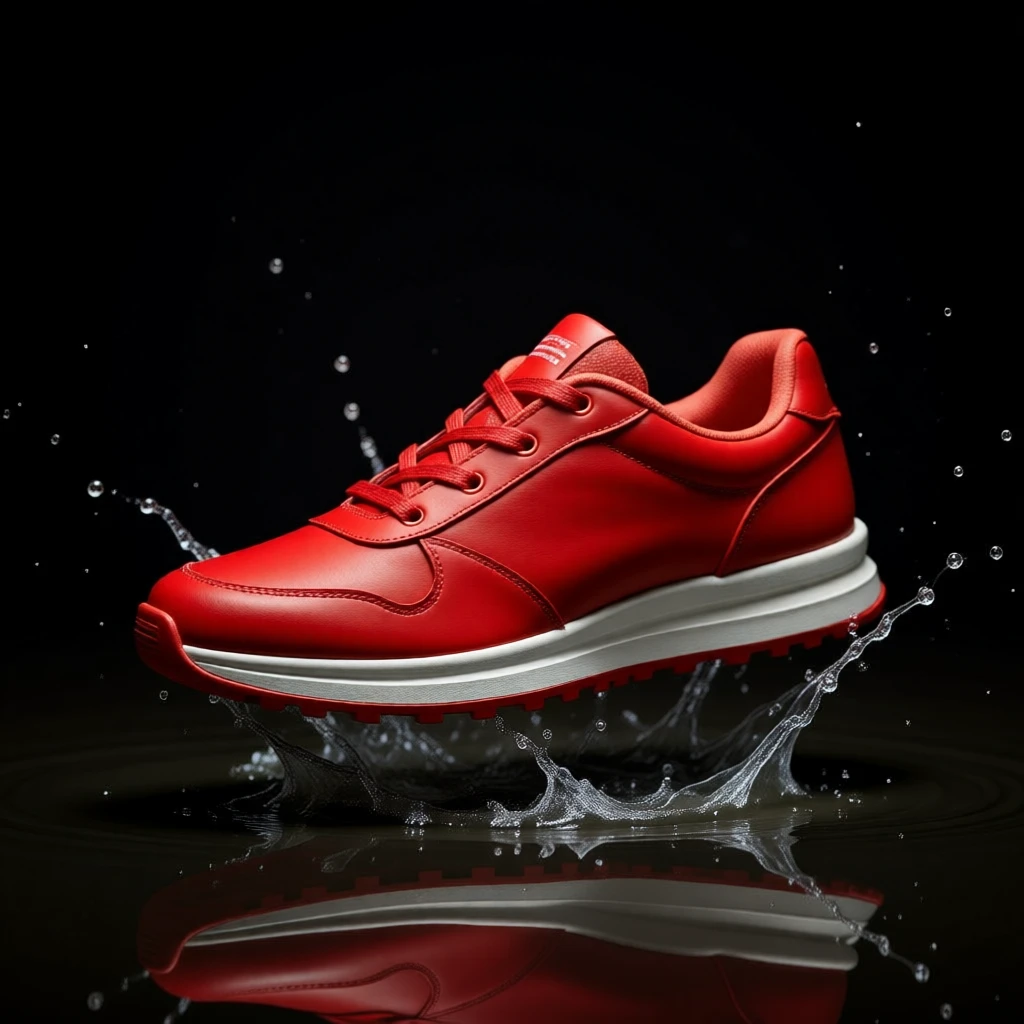

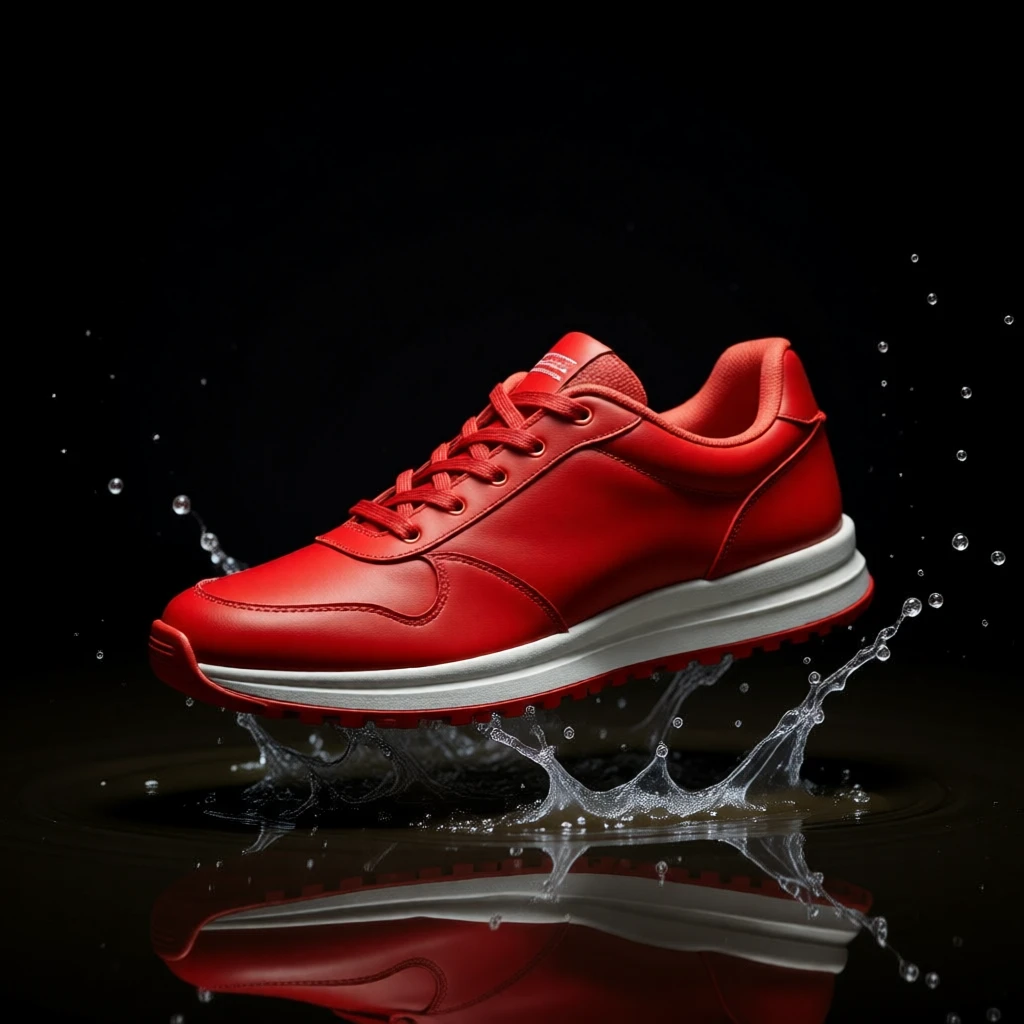
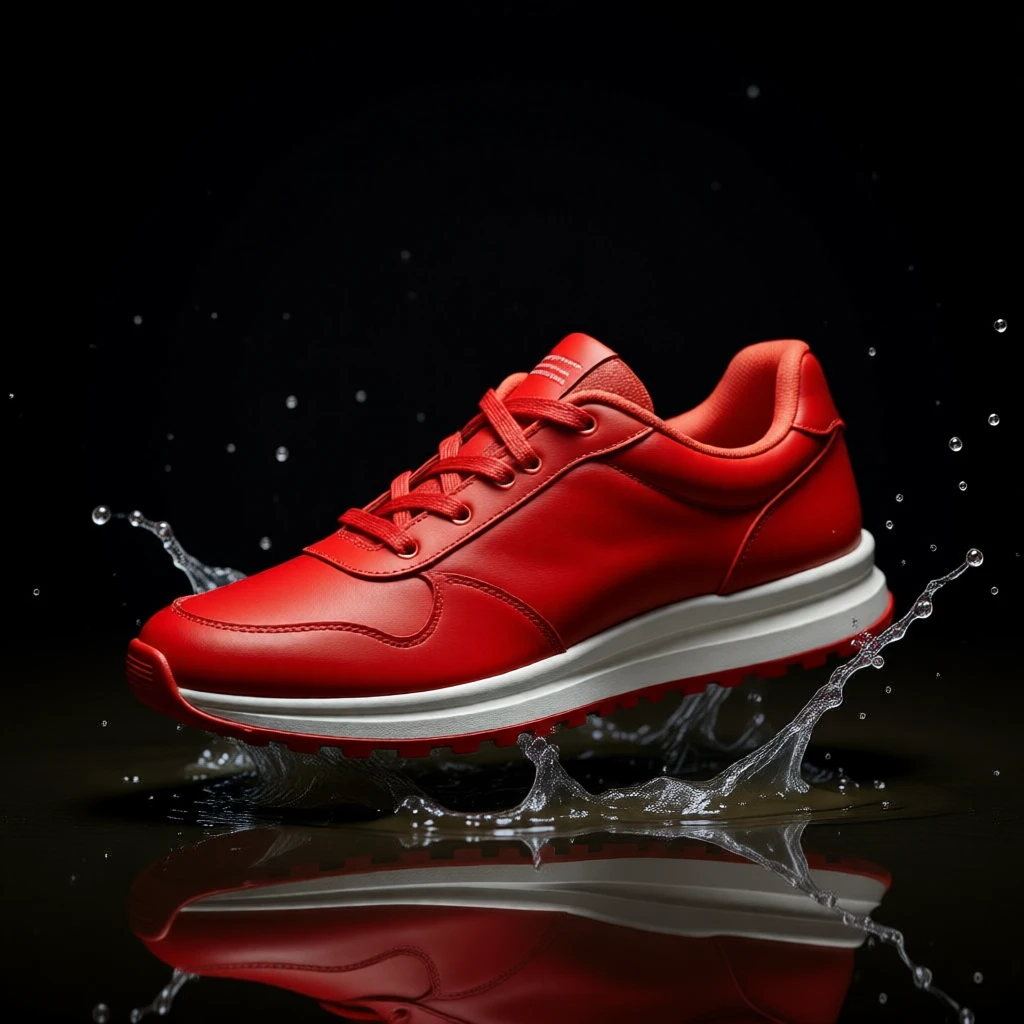
Dynamic product shots with water effects. Each seed gives a different splash pattern.
Edit fidelity: Qwen Edit vs Klein 9B
For product listings, the edit model matters — you need the product to look like your product. Qwen-Image-Edit preserves shape, color, and details faithfully. Klein 9B is more creative but takes liberties.
“Place the sneaker on a beach at sunset with waves”
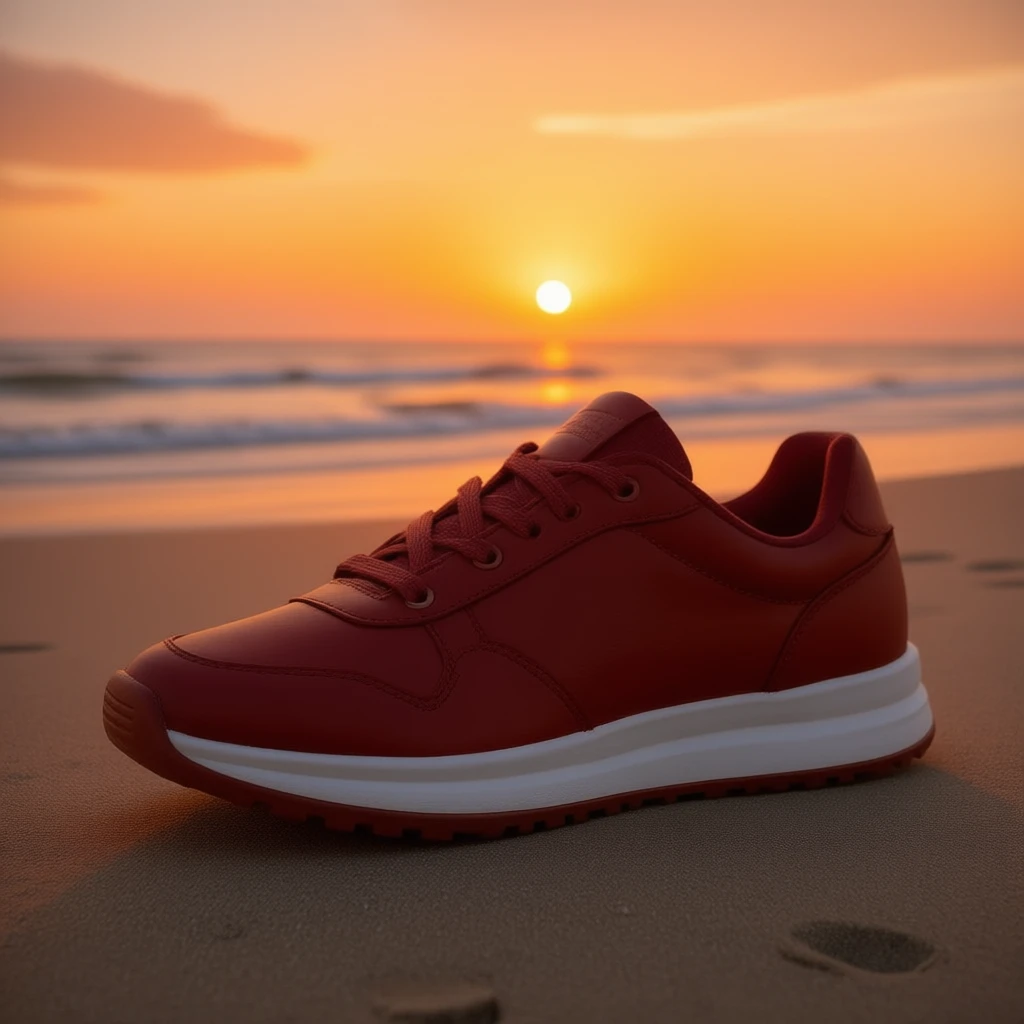
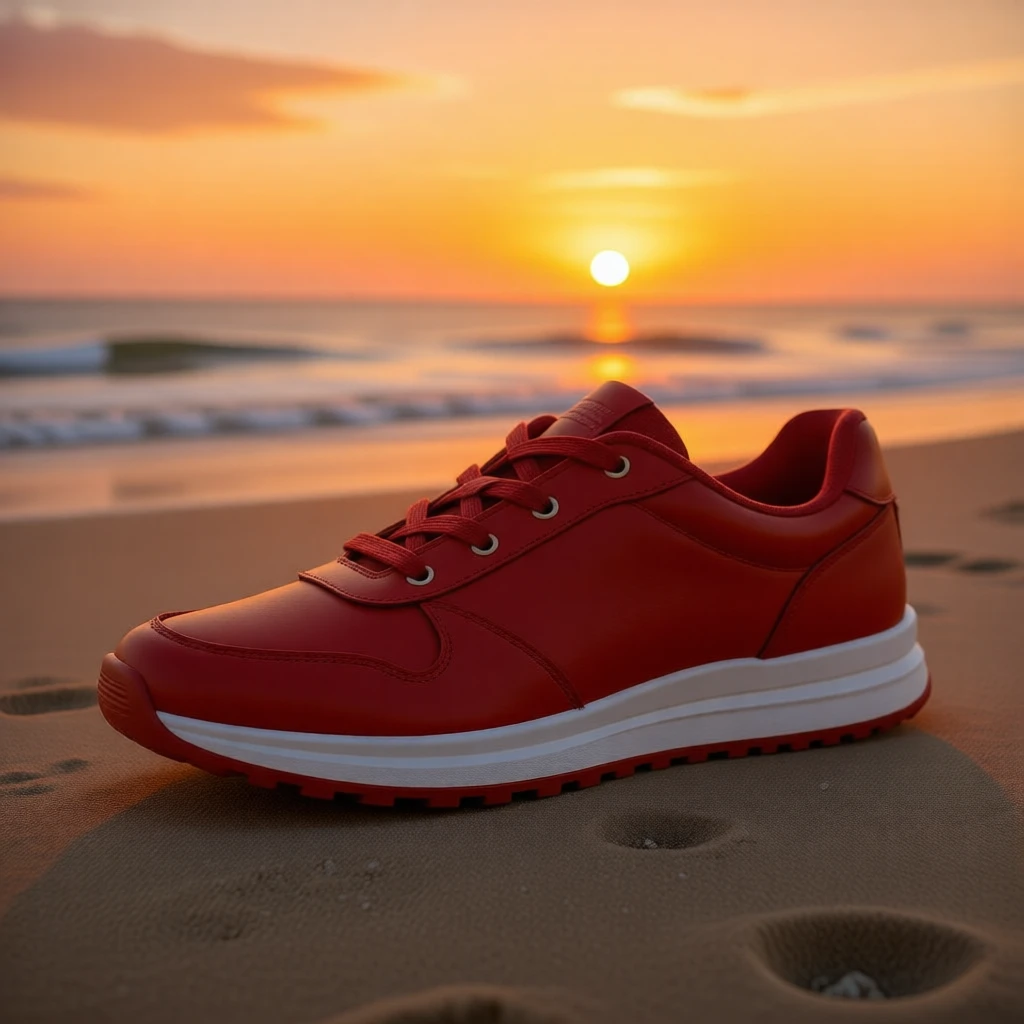
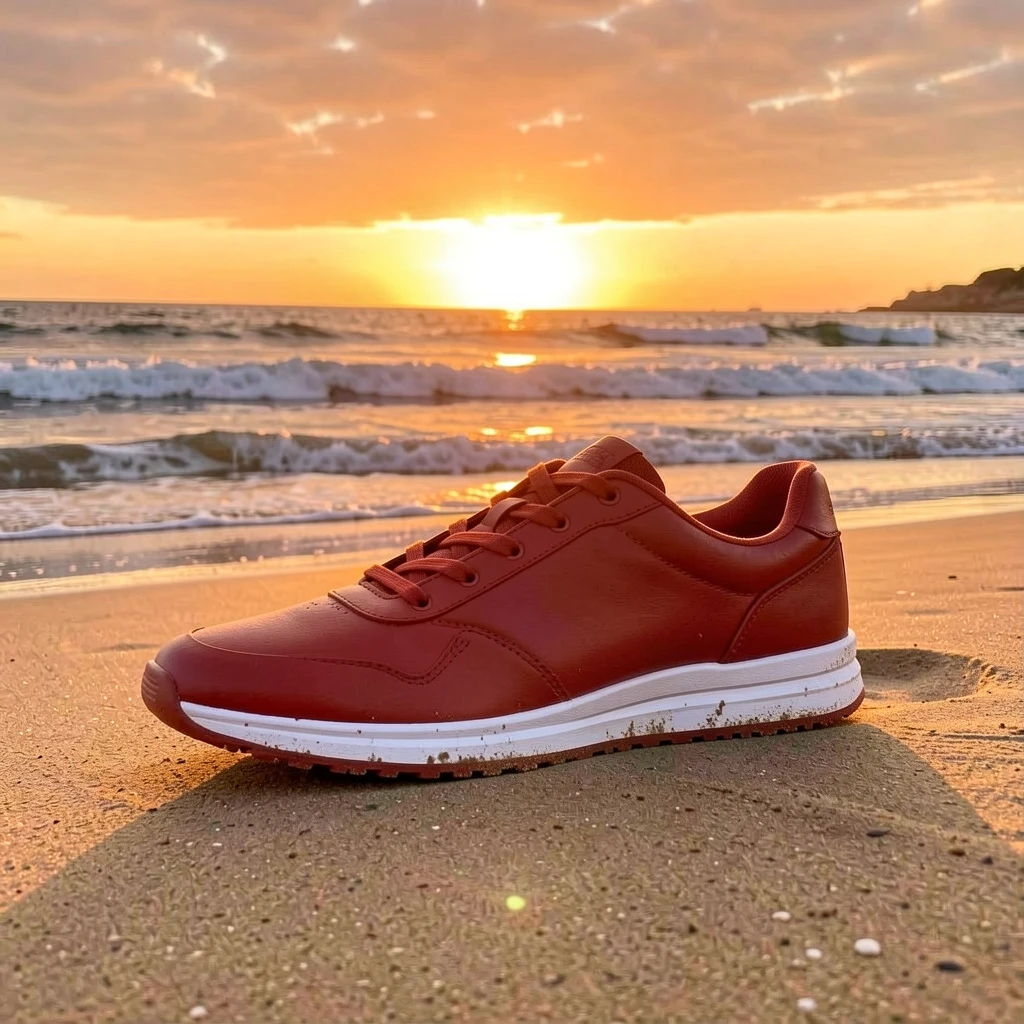
Qwen Edit preserves product details precisely. Klein 9B takes more creative liberties. Use Qwen for listings, Klein for hero images.
For product listings where accuracy matters, use Qwen-Image-Edit. For creative hero images where some artistic interpretation is welcome, try Klein 9B.
Step 4: Style variations for ads
Transform the same product photo into different ad styles. Great for A/B testing creative across platforms — one product photo, multiple campaigns.
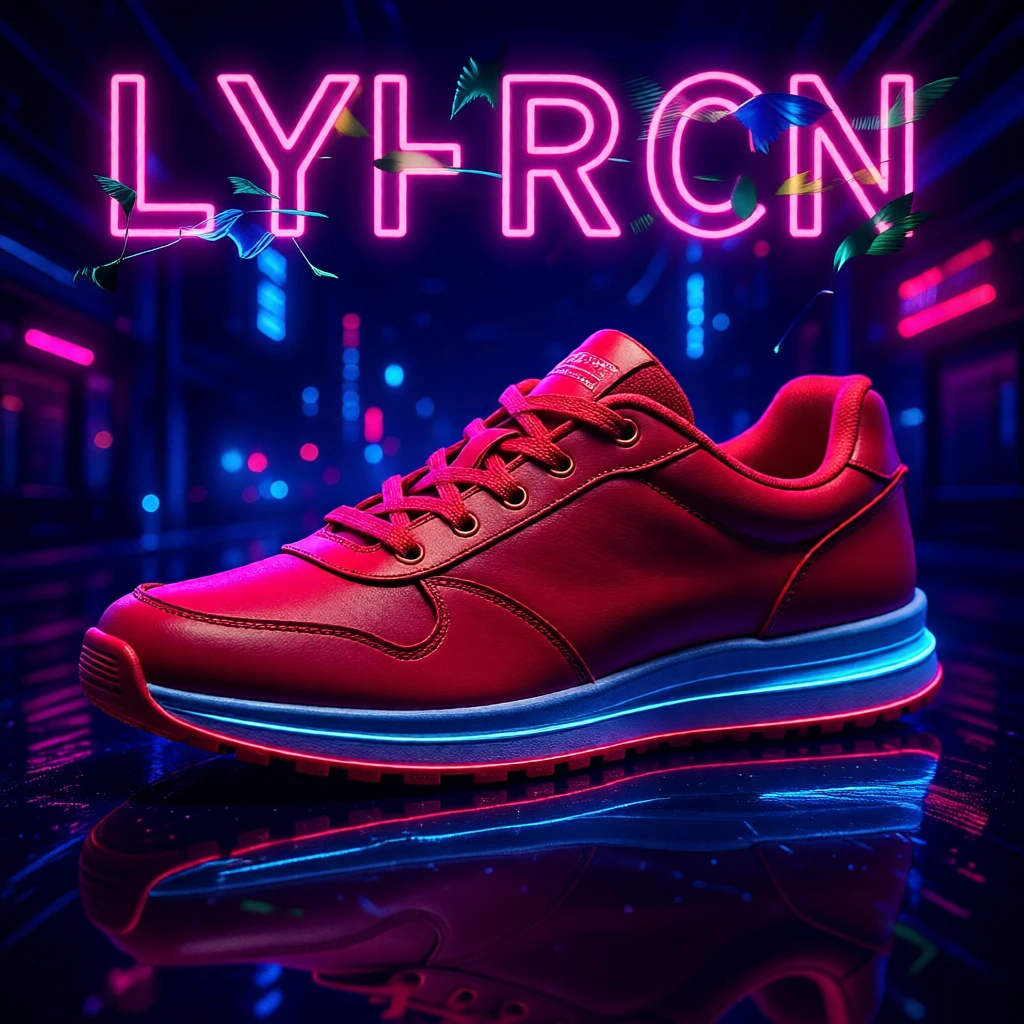
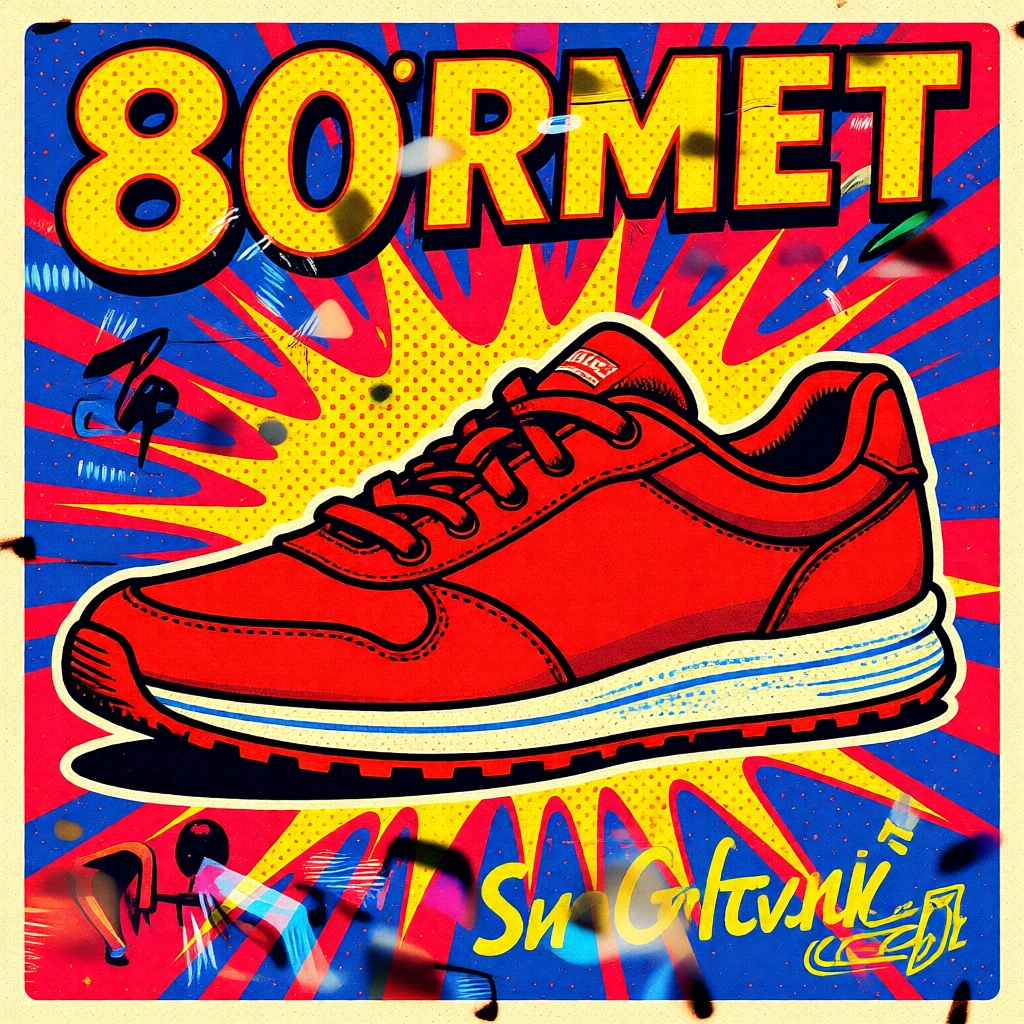
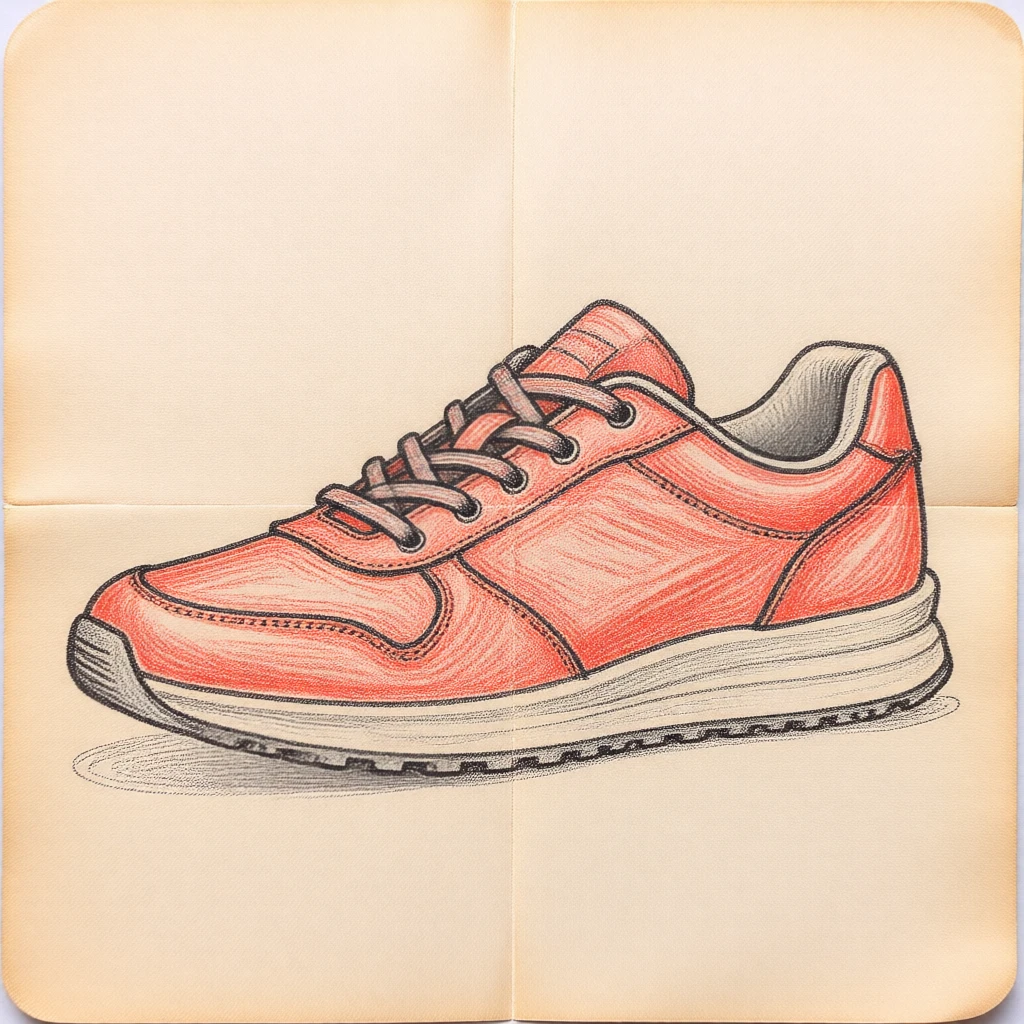
Three styles from one product photo. Edit transforms — it doesn't regenerate from scratch.
Step 5: Branded product mockups
Need product mockups with text? Qwen-Image is the only fast model that renders text accurately. Use --fast 8 (8 steps) instead of --fast (4 steps) — the extra steps give noticeably better character accuracy.
Branded mug
“A coffee mug with ‘MODL.RUN’ printed on it, product photography, white background”
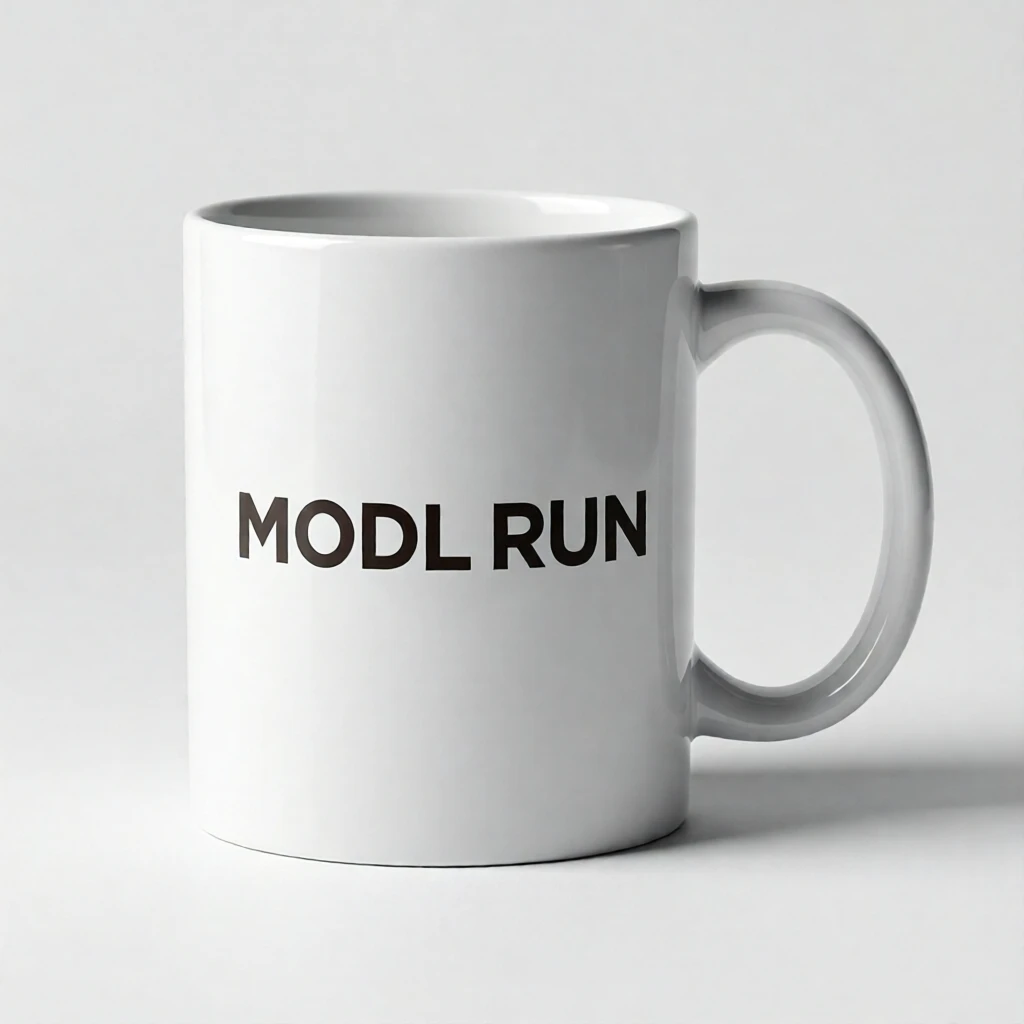
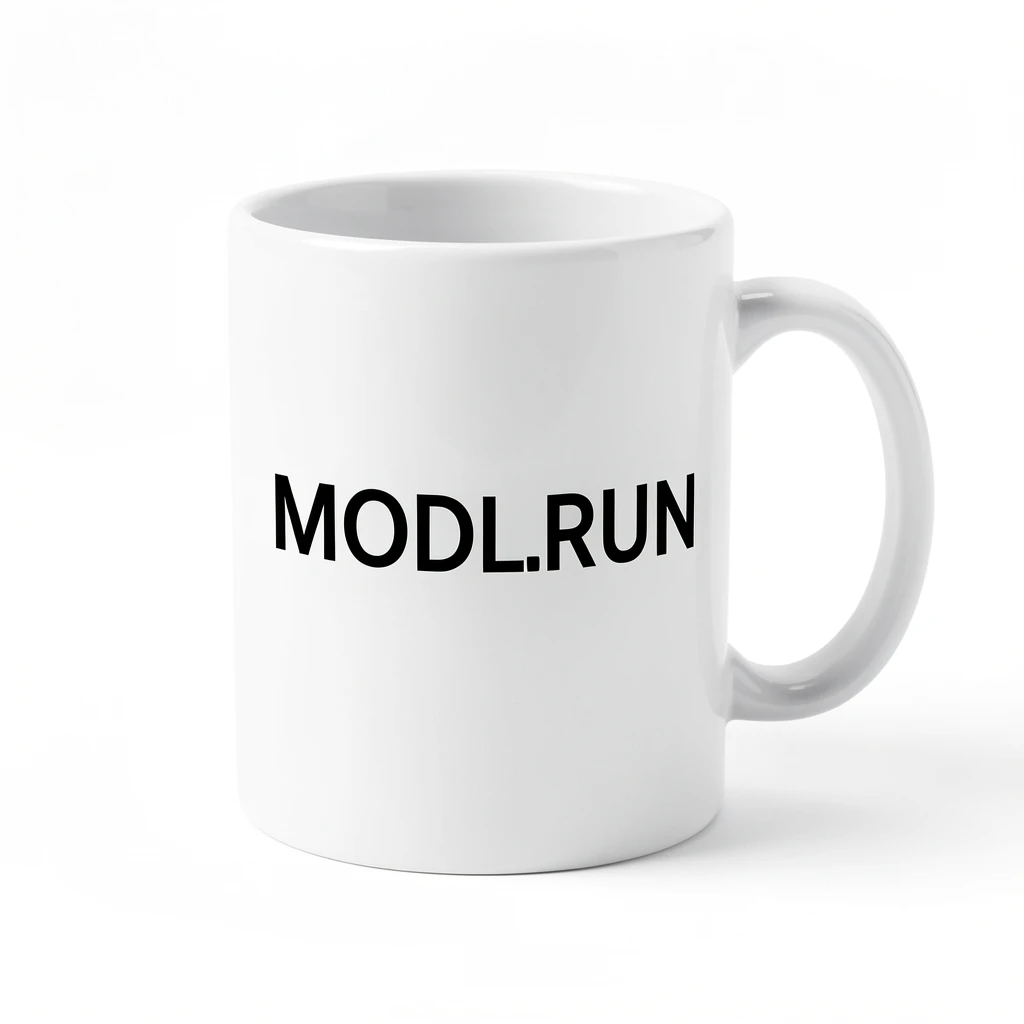
Qwen renders 'MODL.RUN' legibly. Klein 9B attempts text but garbles it.
T-shirt mockup
“A t-shirt flat lay with ‘DREAM BIG’ screen printed in bold letters”
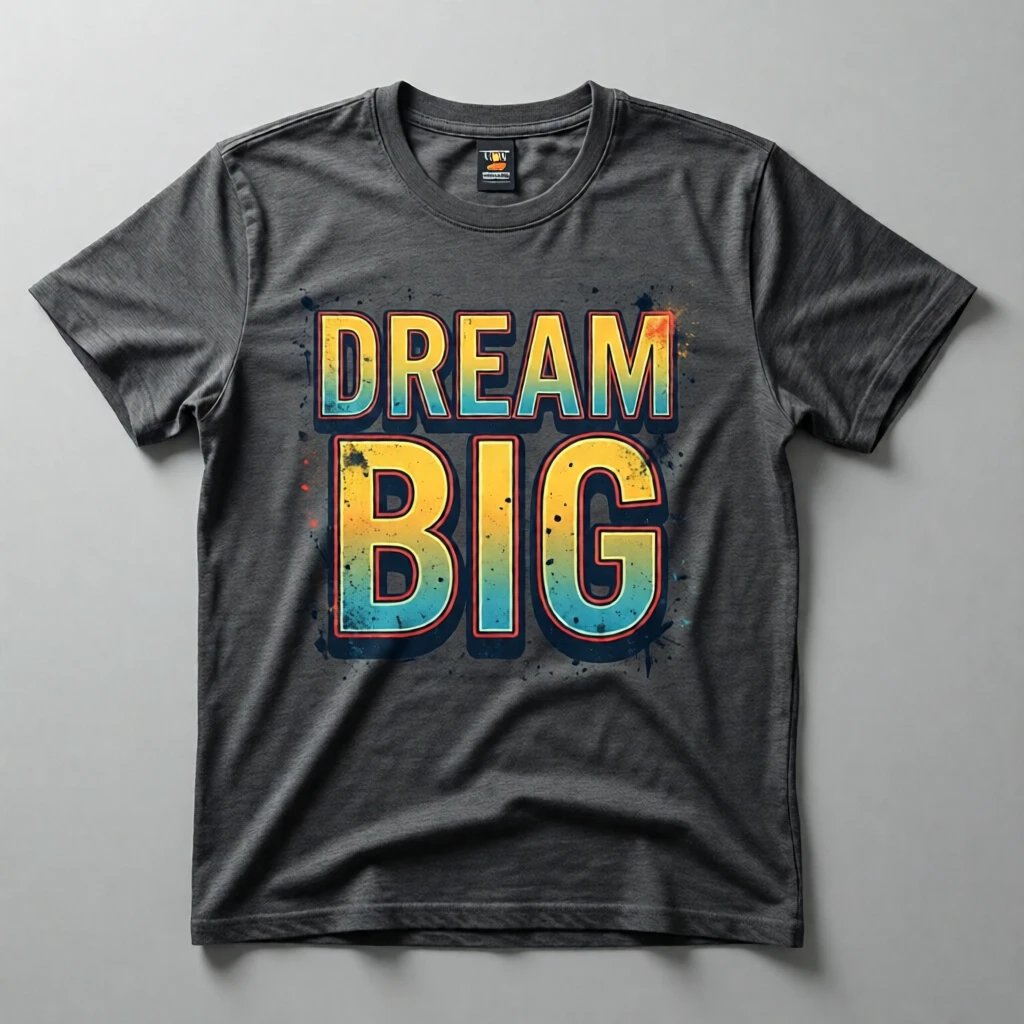
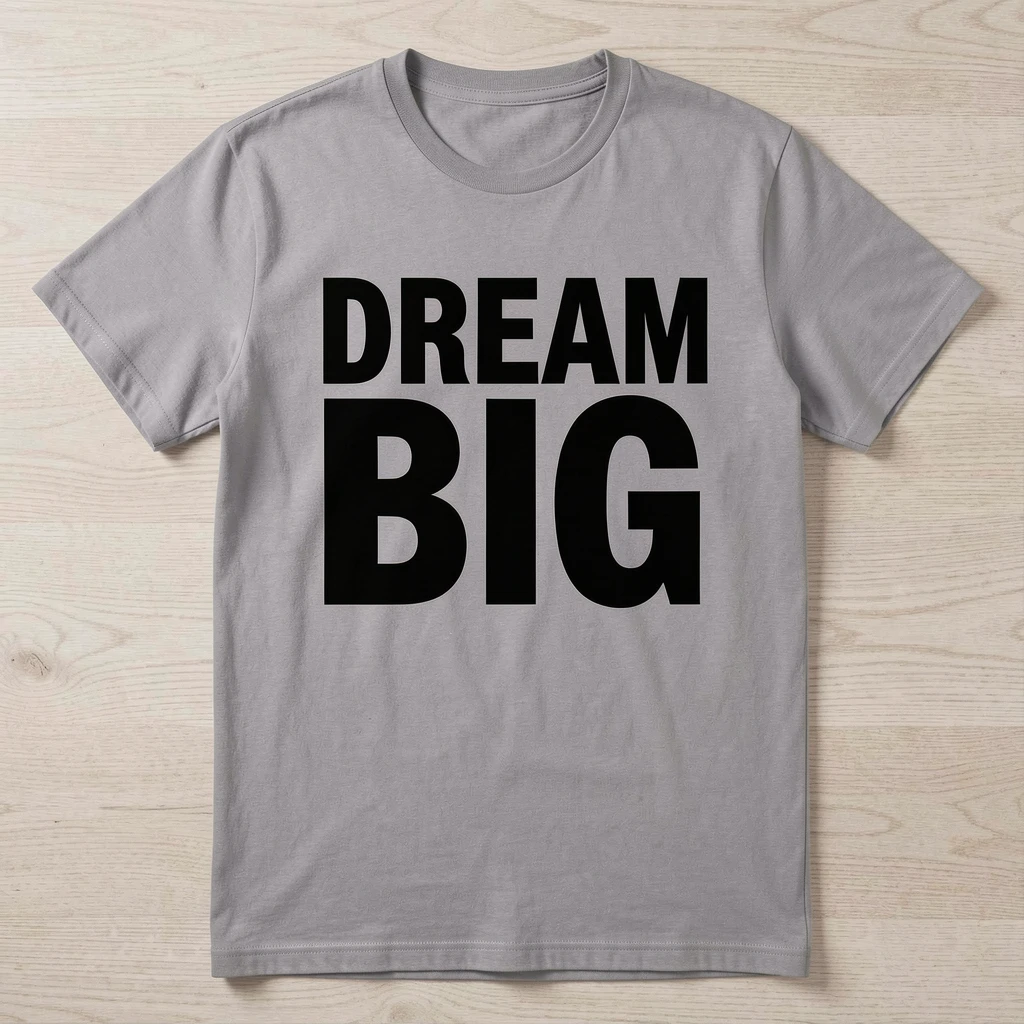
For branded product mockups, Qwen-Image is the clear choice.
Step 6: Outpaint for wider shots
Extend a square product shot to widescreen for website banners and hero images. The model fills in the extra space coherently.
Extend a 1:1 product shot to 16:9 for website banners.
Step 7: Upscale for print
4x upscale for print-ready resolution. Works on any image — generated, edited, or photographed.
4x upscale from 1024px to 4096px. Fine details like stitching and texture are enhanced.
Full pipeline in one script
From product photo to storefront-ready assets:
Explore from here
- Fast inference guide — Detailed
--fastquality comparison with text rendering benchmarks - Image primitives — All processing tools (upscale, remove-bg, score, detect)
- Train a style LoRA — Train a custom style for consistent brand aesthetics
- Model comparison — Full breakdown of all supported models