Getting Started with modl
Install modl, pull your first model, and generate an image — all in under 5 minutes. Then explore training, the web UI, and what to try next.
Install modl
One command, no dependencies. Works on Linux and macOS with an NVIDIA GPU.
Verify it’s working:
modl is a single Rust binary. It manages its own Python runtime for GPU work — you don’t need to install Python, create virtual environments, or touch pip.
Pull a model
Before you can generate images, you need a model. Let’s start with Z-Image Turbo — it’s fast (4 steps), high quality, and small enough for most GPUs.
modl automatically downloads the model’s dependencies (VAE, text encoders) and stores everything in a content-addressed store at ~/.modl/store/.
Don’t have much VRAM? modl auto-selects fp8 or fp16 variants based on your GPU. A 12GB card works fine for most models.
Other models to try
You can see all available models with modl list --remote or at modl.run/models. For a full comparison of all 16 models — capabilities, sizes, and which to use when — see Which Model Should I Use?.
Generate your first image

Your first modl-generated image. No config files, no Python environments, no node graphs.
That’s it. One command, one image. modl picked the model (last pulled), the size (1024x1024), the steps (4 for turbo), and the seed (random).
Customize the output
Override any default with flags:
Launch the web UI
Everything modl does from the CLI, you can also do from a browser.
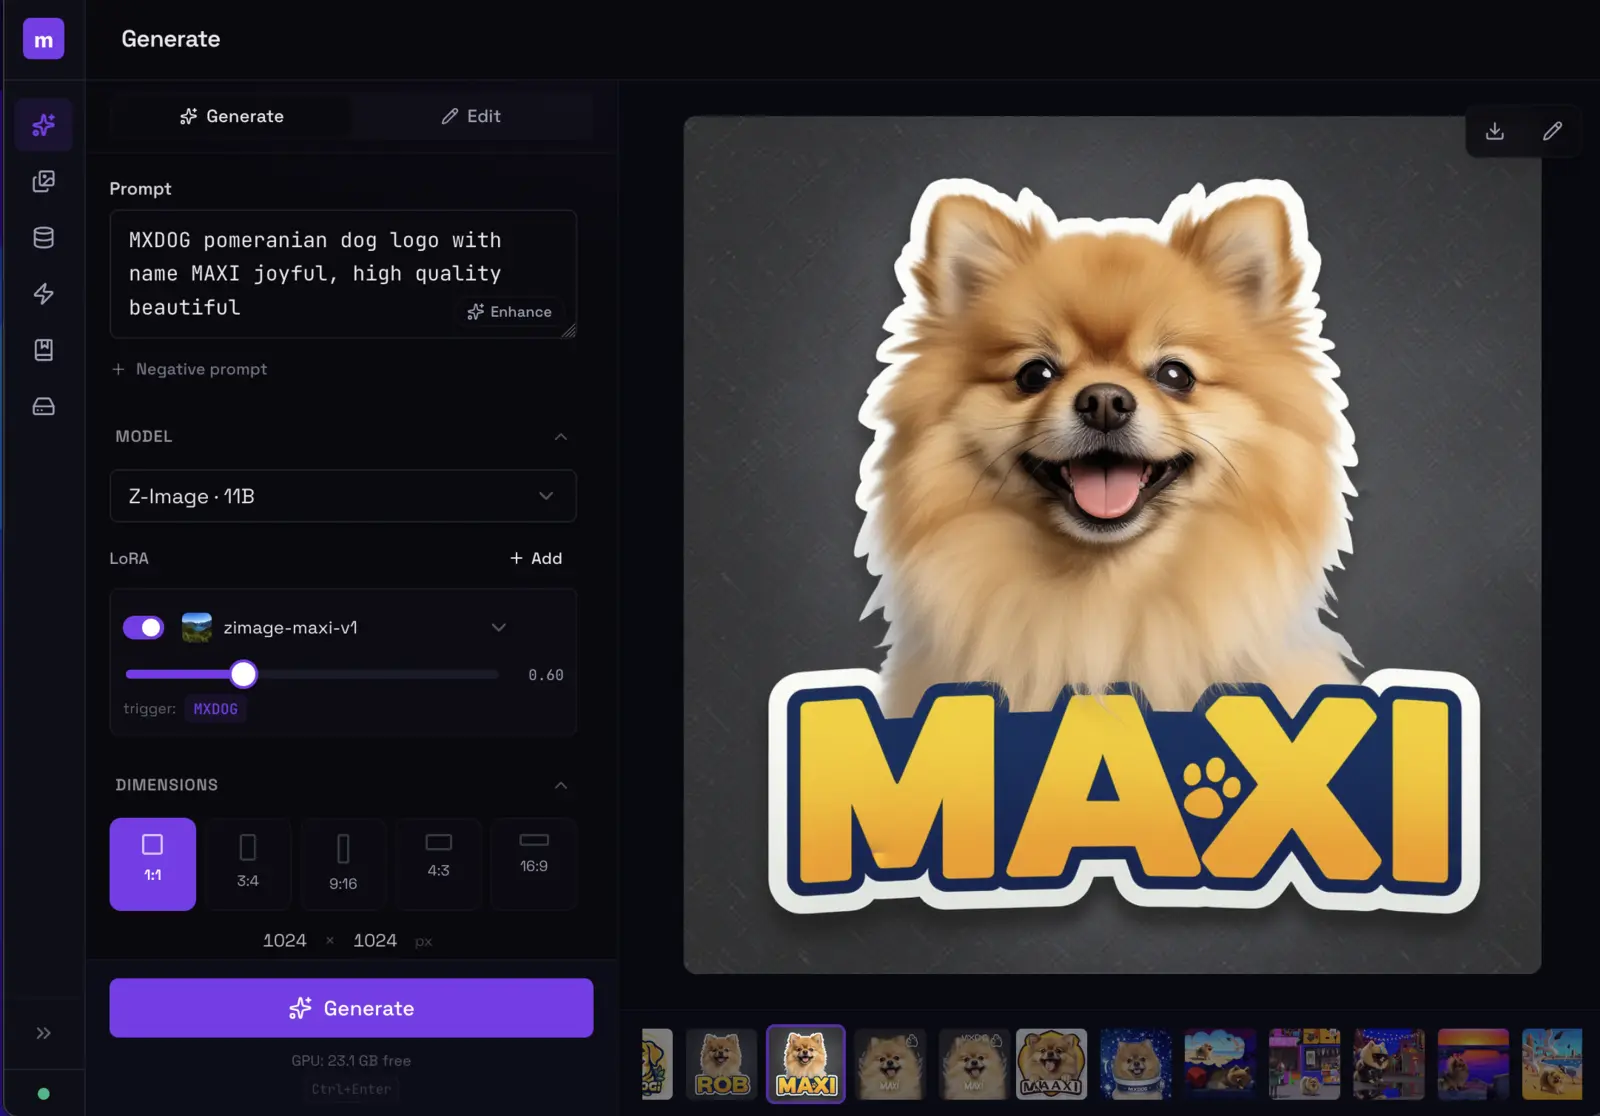
The modl web UI. Generate, browse outputs, manage models, train LoRAs — all from your browser.
The web UI runs locally on your machine. Your images, your GPU, your data.
Train a LoRA
This is where modl gets interesting. A LoRA teaches a model to render a specific subject (your face, your dog, your product) or style (watercolor, pixel art, anime).
modl handles the Python runtime, ai-toolkit configuration, VRAM management, and training parameter selection. You provide photos and a name.

The training dashboard shows sample evolution across steps — you can see exactly when your LoRA locks in.
Want the full walkthrough? See Train Your First Style LoRA for a deep dive on captioning strategy, presets, and evaluation.
Script it
Every modl command supports --json for machine-readable output. This means you can pipe it into scripts, chain commands, or let an LLM agent drive.
See the AI Storybook guide for an example of chaining these into an automated pipeline.
What’s next
Explore from here
- Browse models —
modl list --remoteor modl.run/models. Try flux-dev for photorealism, z-image for illustrated styles. - Train a LoRA — follow the Style LoRA guide or the AI Storybook guide.
- Use the web UI —
modl servefor a visual interface with real-time generation progress. - Edit images —
modl edit image.png "add sunglasses"uses AI to modify existing images. - Read the docs — modl.run/docs for the full command reference.