Virtual Try-On Deep Dive
The definitive comparison of every clothing-swap method in modl — text edits, reference images, and inpainting — tested across jackets, dresses, pants, and accessories with real results.
This is the comprehensive reference for virtual try-on with modl. We test every method — text edits, reference-based edits, standard inpainting, and LanPaint — across four garment categories with honest, unretouched results.
The three methods
Before diving into garment categories, understand what you’re working with:
Text edit is the default. It’s fast, requires no preprocessing, and handles most cases. Reference edit is for when you have a specific garment photo you want transferred. Inpainting gives pixel-level control but requires mask creation and is more sensitive to prompt wording and seed.
Upper body: jackets and hoodies
The most common VTON task. We start with a woman in a gray hoodie and swap it using every available method.
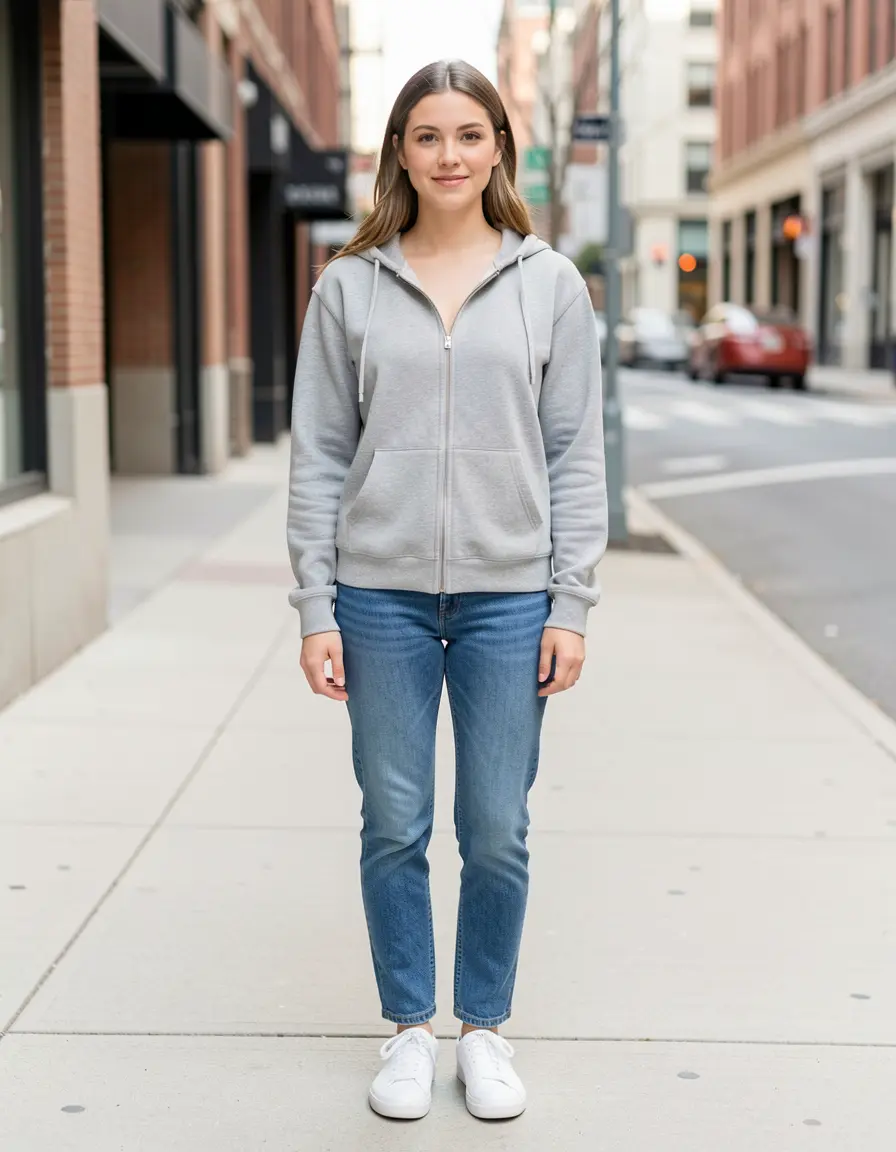
Source image — generated with Klein 9b. Clear garment boundaries, neutral background.
Text edit — one command, 4 steps
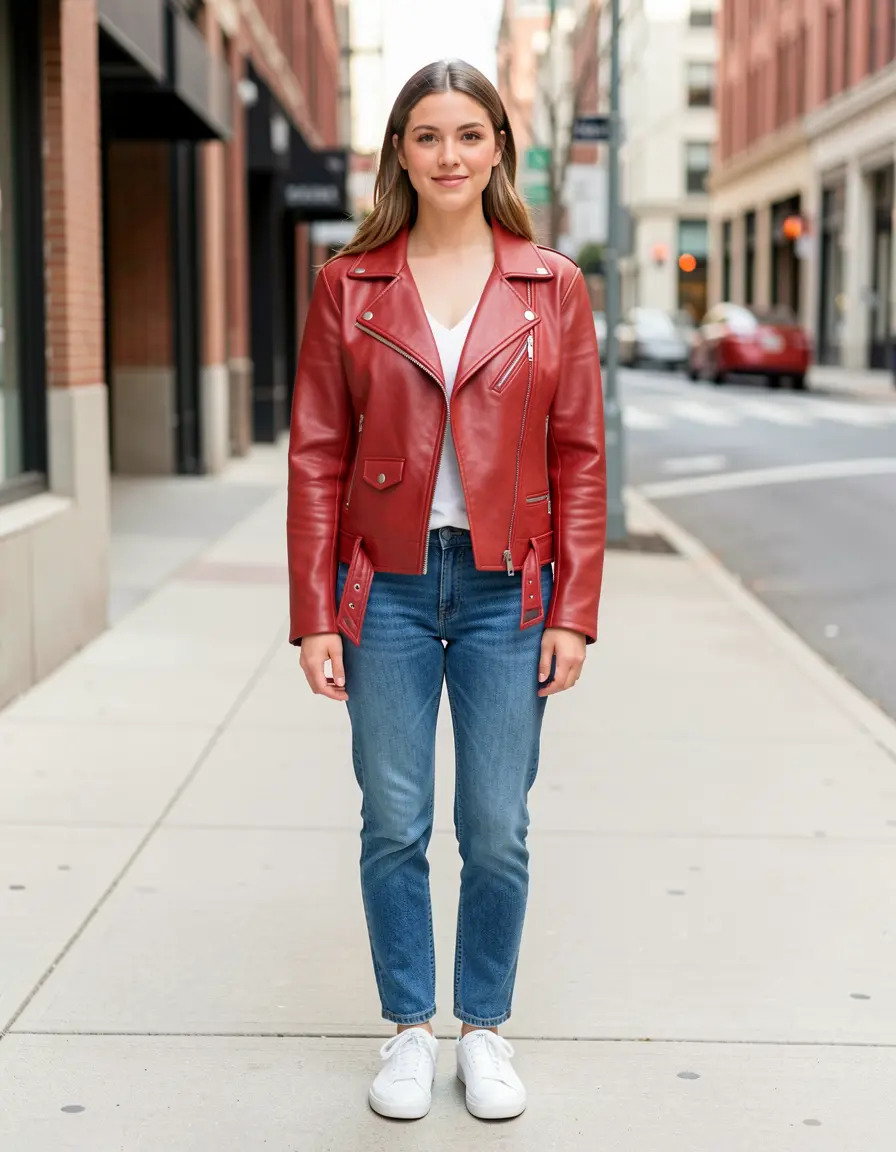
Gray hoodie → red leather jacket in 4 steps. Face, pose, jeans, sneakers, background all preserved. The jacket has correct zipper detail, lapels, and leather texture.
Klein 9b understood the garment swap completely — the hoodie disappeared, a properly structured moto jacket appeared, and nothing else changed. This is the baseline every other method has to beat.
Reference edit — transfer a specific garment
What if you have a photo of the exact jacket you want? Pass it as a second image:
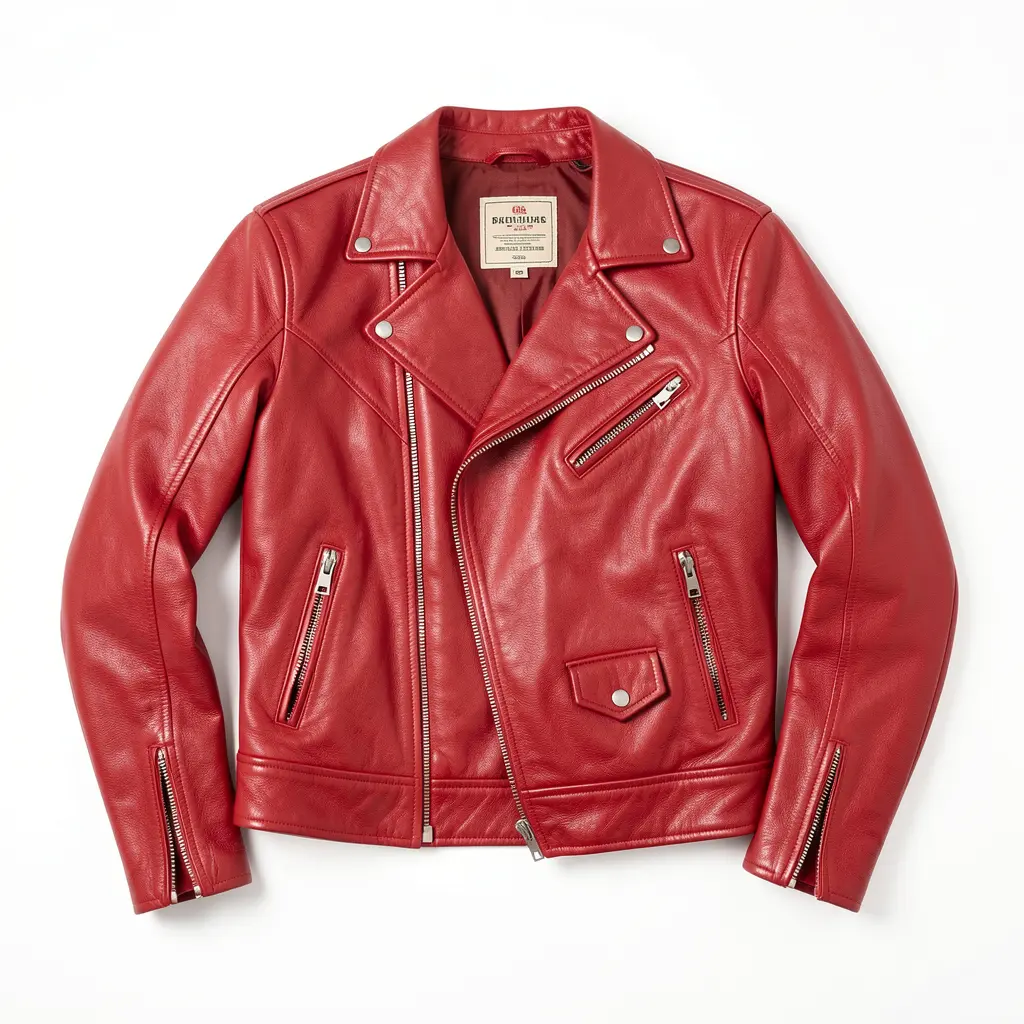
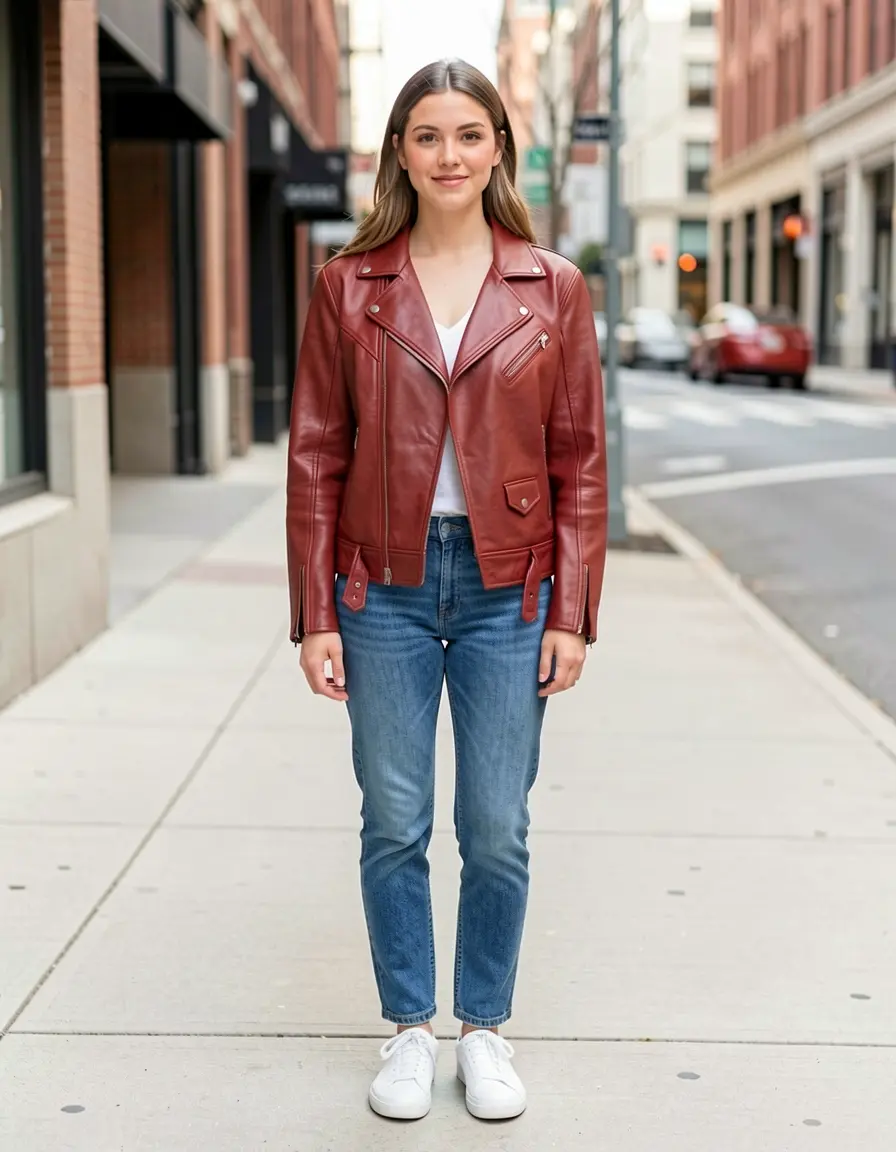
The reference jacket (left) transferred onto the person (right). The moto silhouette, asymmetric zipper, and snap pocket carried through. Color shifted slightly darker — typical of reference transfer.
Pattern transfer test
The real test of reference editing: can it transfer a complex pattern? Here’s a houndstooth check blazer:
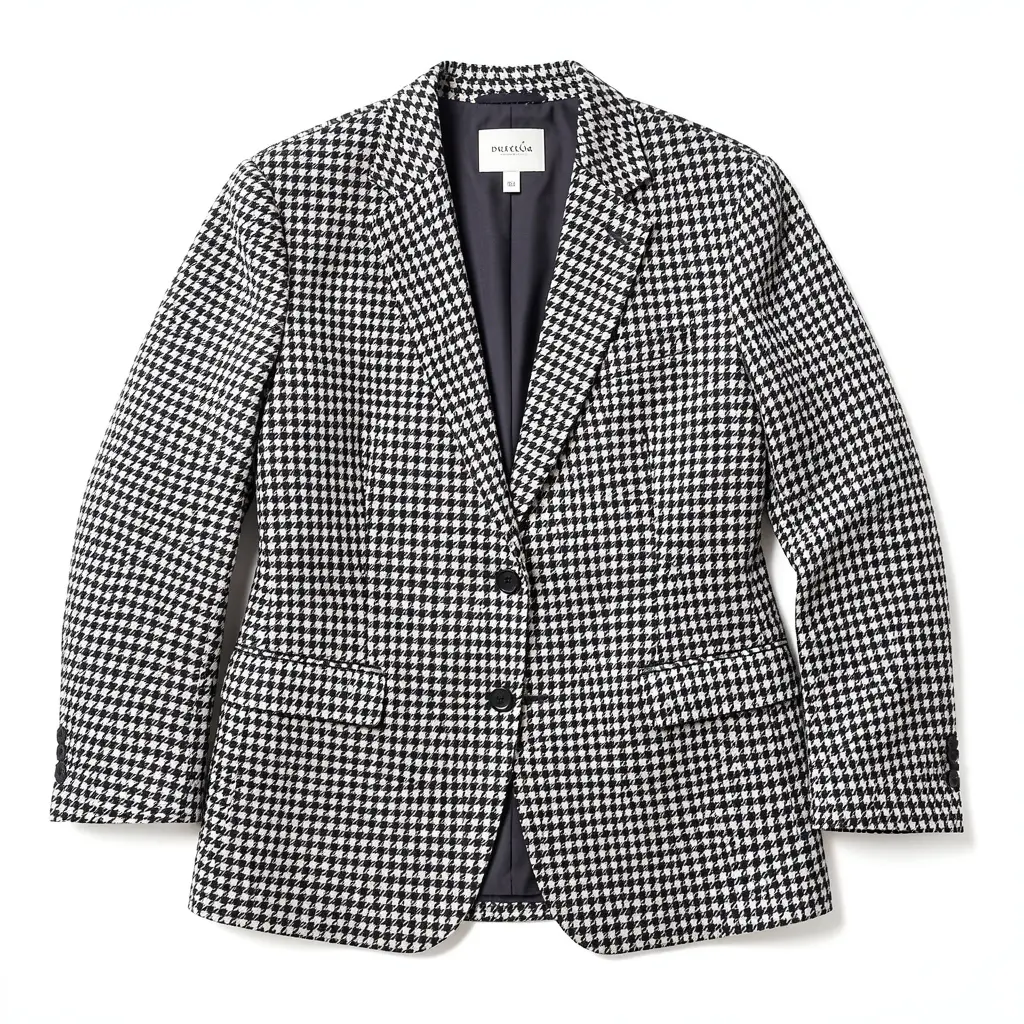
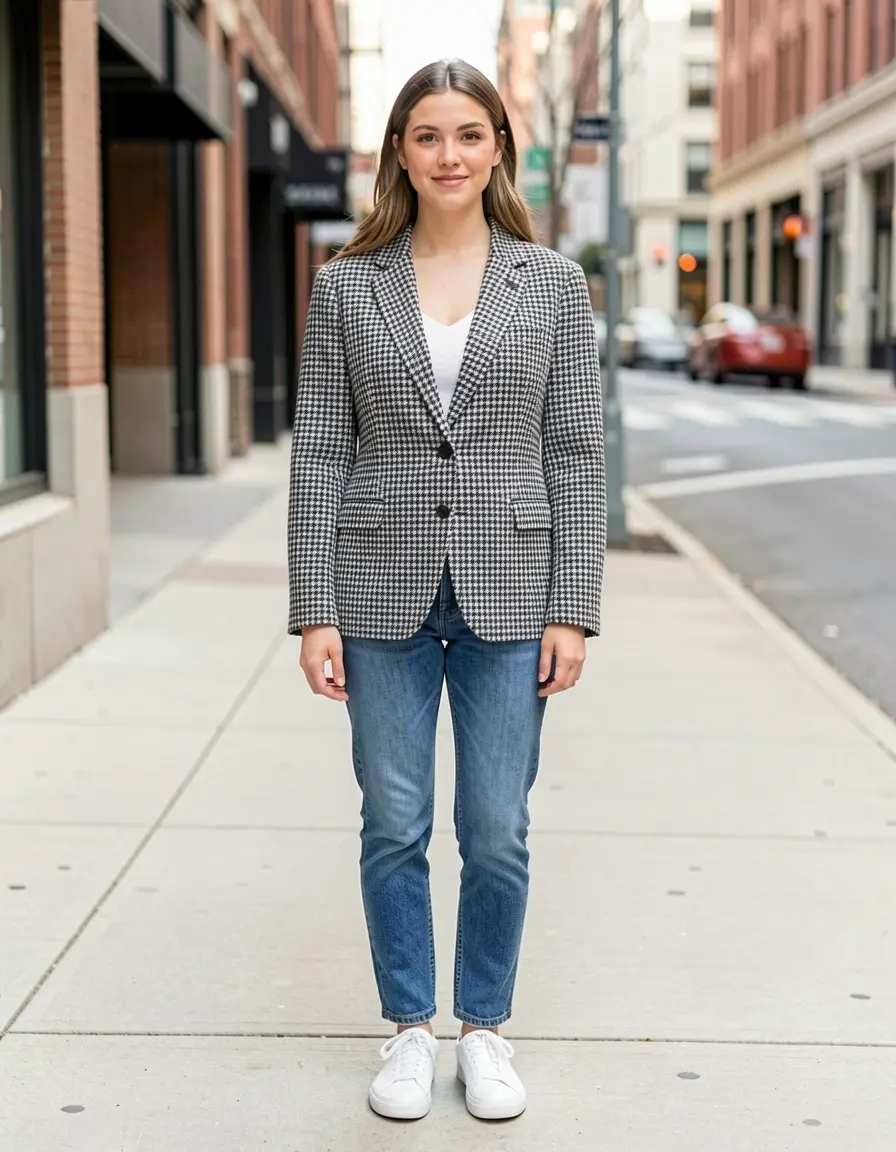
The houndstooth pattern transferred faithfully — correct scale, correct colors, correct structure. The blazer fit adapted naturally to the body while maintaining the pattern's regularity. This is where reference edit shines over text description.
Try describing “houndstooth check blazer with exact two-tone pattern” in a text edit — you’ll get something approximately right. With a reference image, you get the actual pattern.
Use reference edit when the garment has specific details that matter — a pattern, a logo, a particular cut. Use text edit when you can describe what you want in a sentence. If you find yourself writing a paragraph-long prompt, you probably need a reference image instead.
Garment variety — one model, one source, five garments
The same source photo, five different garments, all Klein 9b text edits at 4 steps:
Red leather jacket
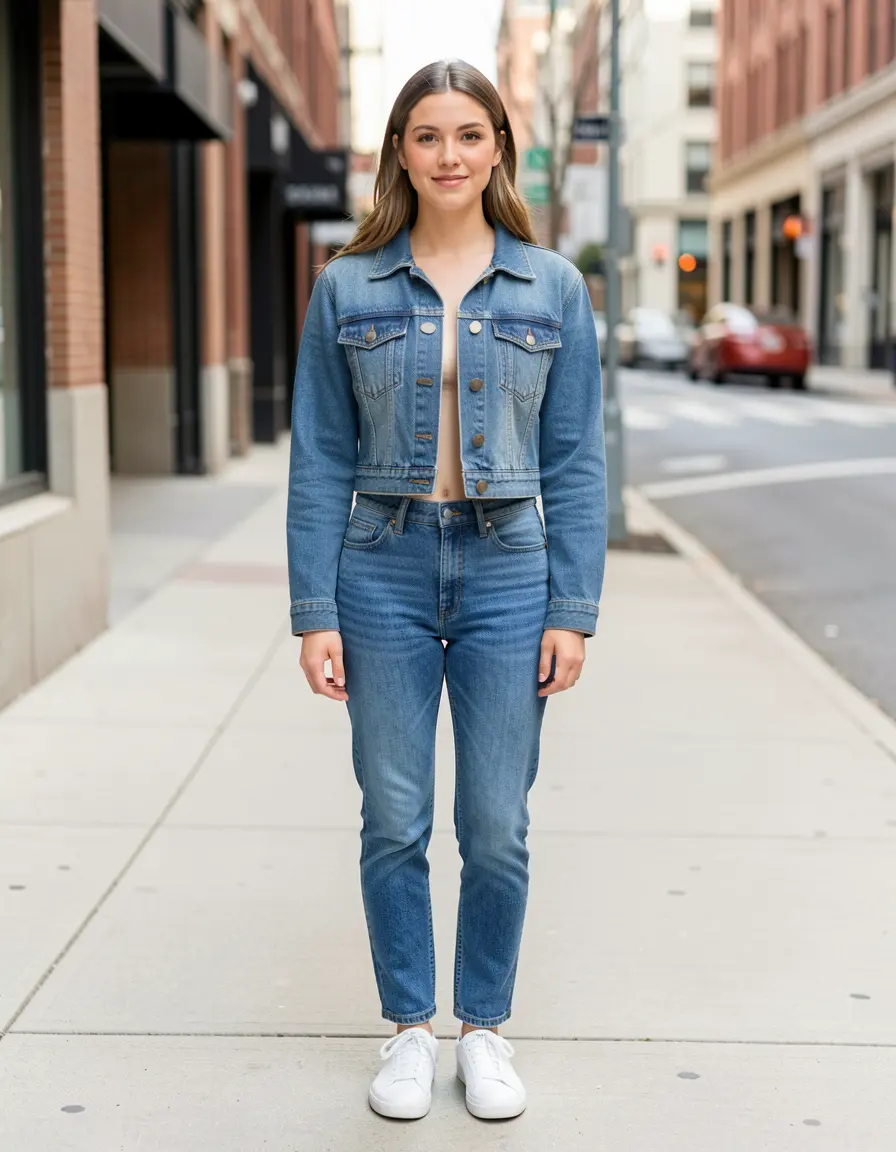
Cropped denim jacket
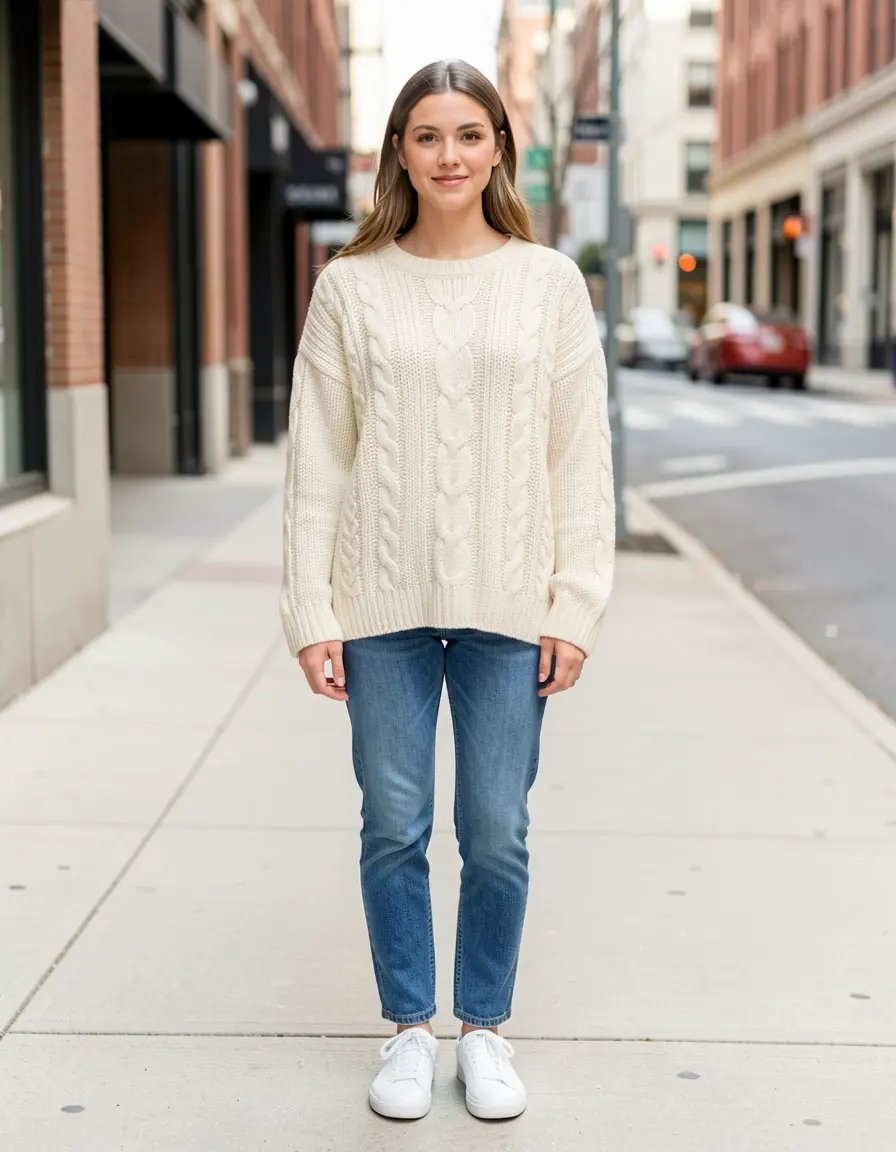
Cream cable-knit sweater
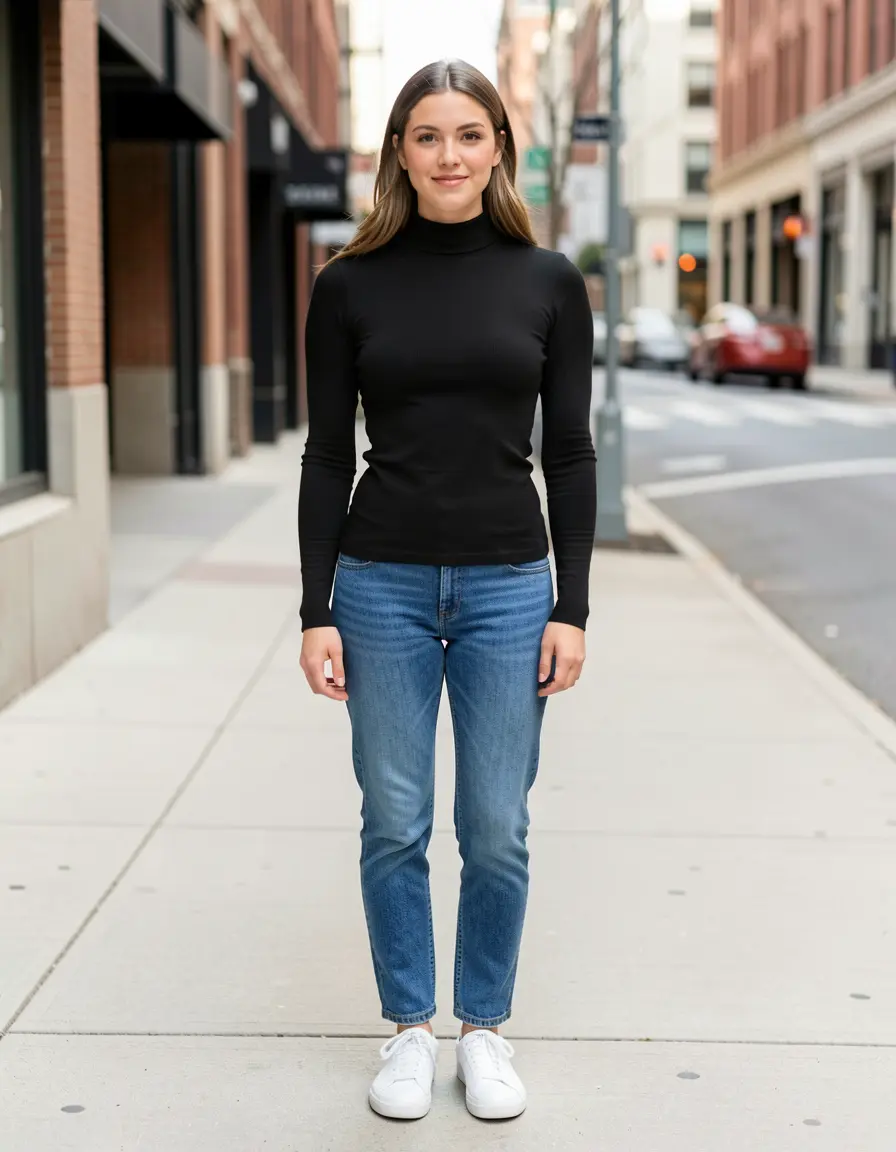
Black turtleneck
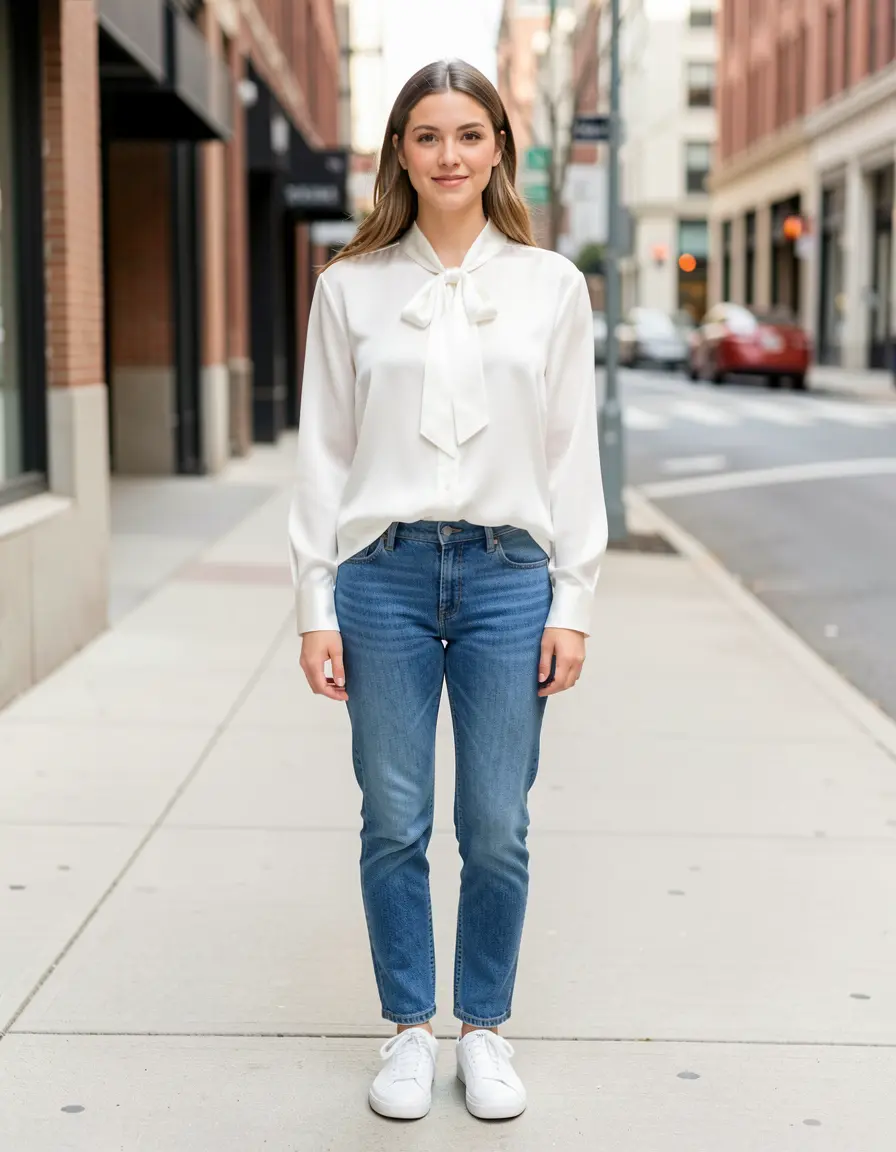
White silk blouse
Same source, same model, same seed, five different prompts. Each garment has correct material texture — visible cable knit on the sweater, brass buttons on the denim, silk sheen on the blouse. Face, pose, jeans, sneakers, and background preserved across all five.
Each takes ~3 seconds. Try 4-5 garments to explore options, then refine your favorite with seed iteration.
Notice how the material descriptor drives everything. “Cable-knit sweater” gives you visible knit texture. “Silk blouse” gives you the right sheen and drape. “Denim jacket” gives you the correct weave and hardware. Be specific about material.
Upper body verdict
Dresses and full outfit swaps
Full outfit changes are where text edit dominates. Inpainting the entire body requires a massive mask — too much freedom for the model, and pose/proportions often drift.
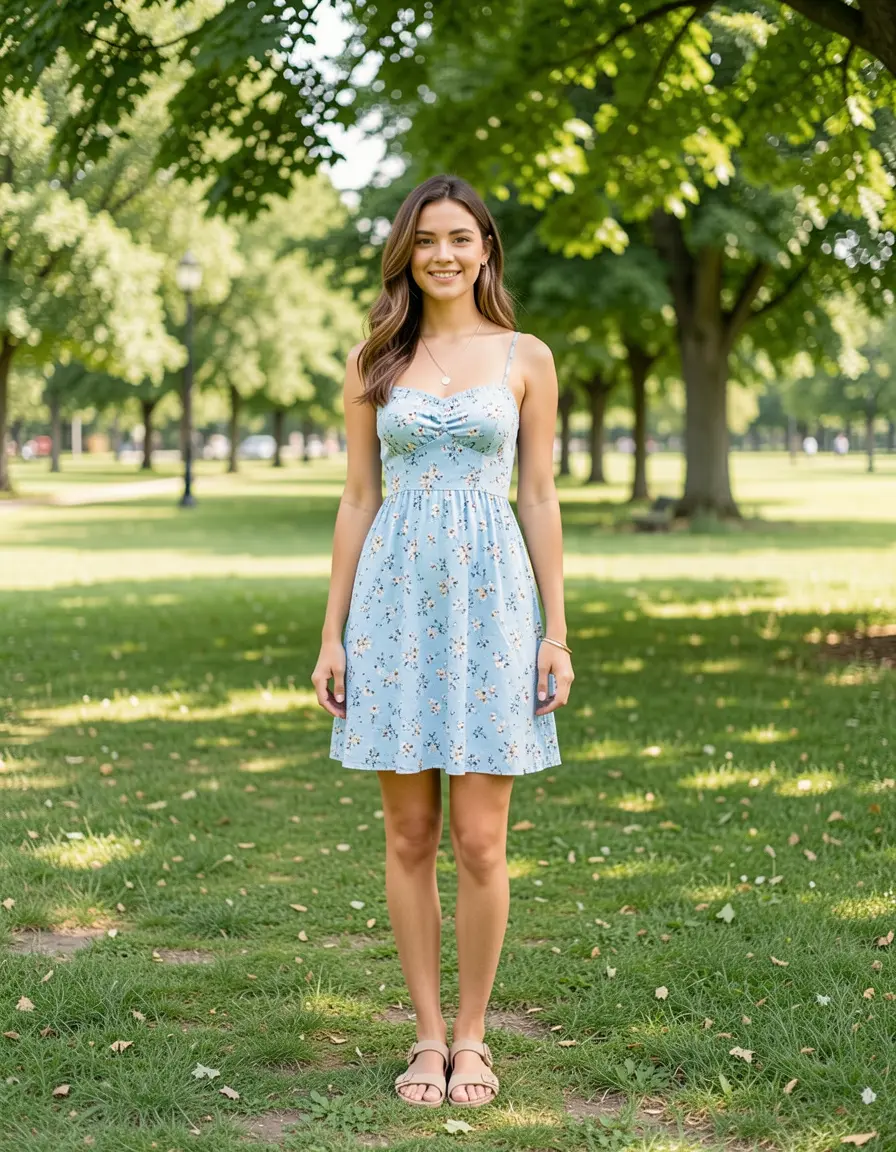
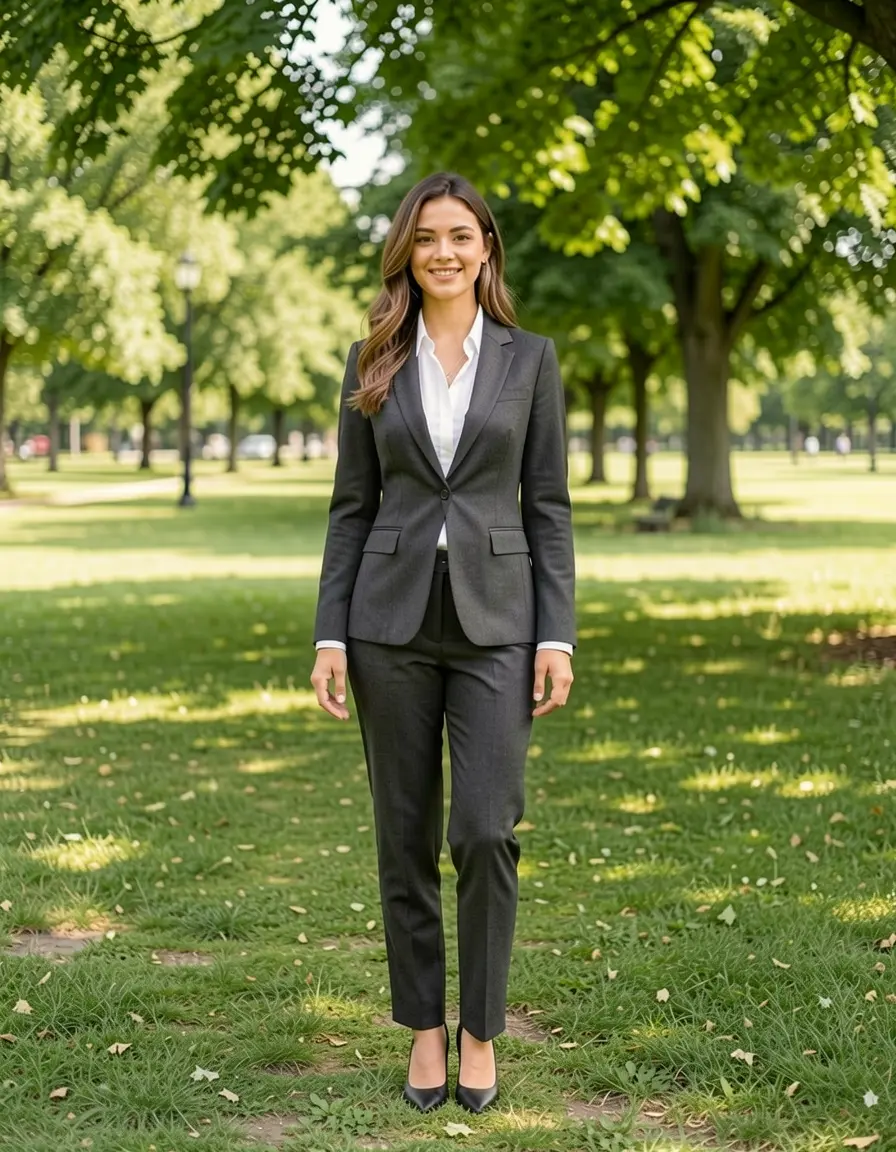
Source — casual sundress in a park setting.
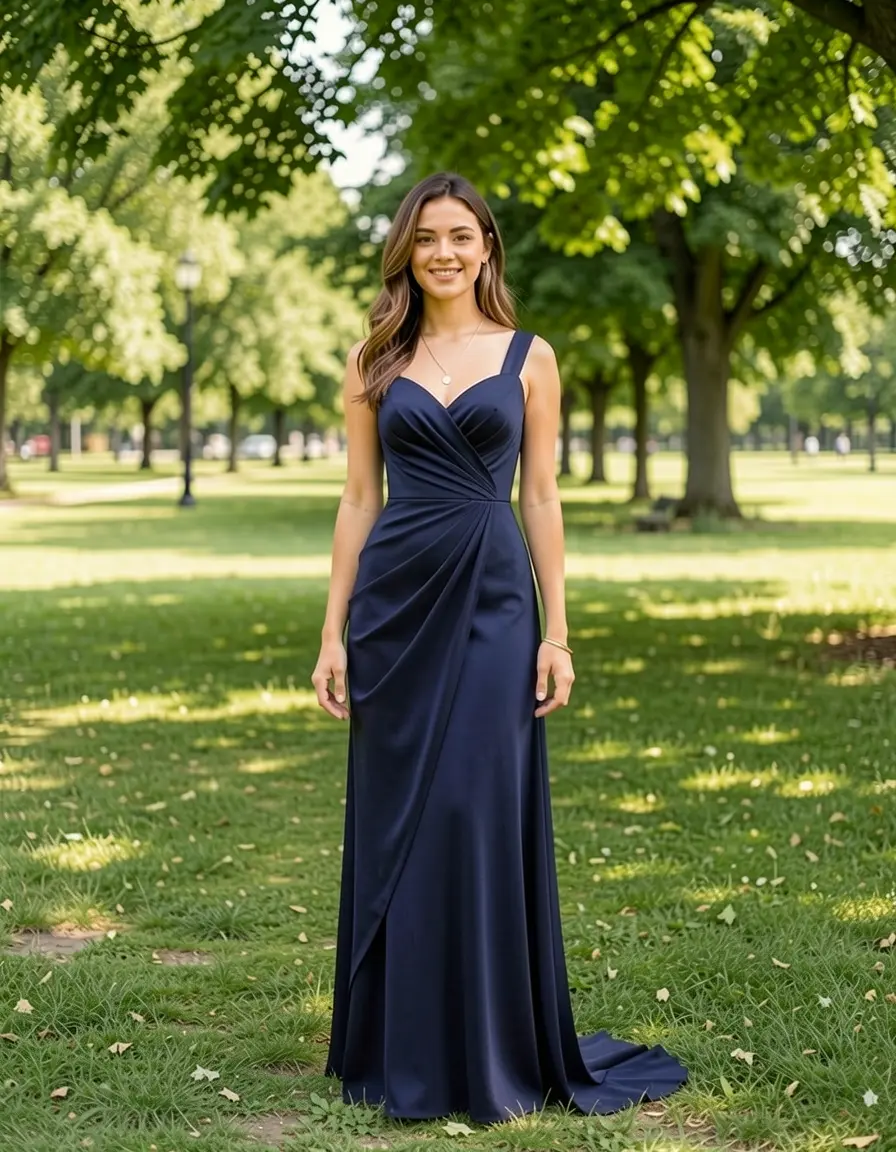
Sundress → evening gown
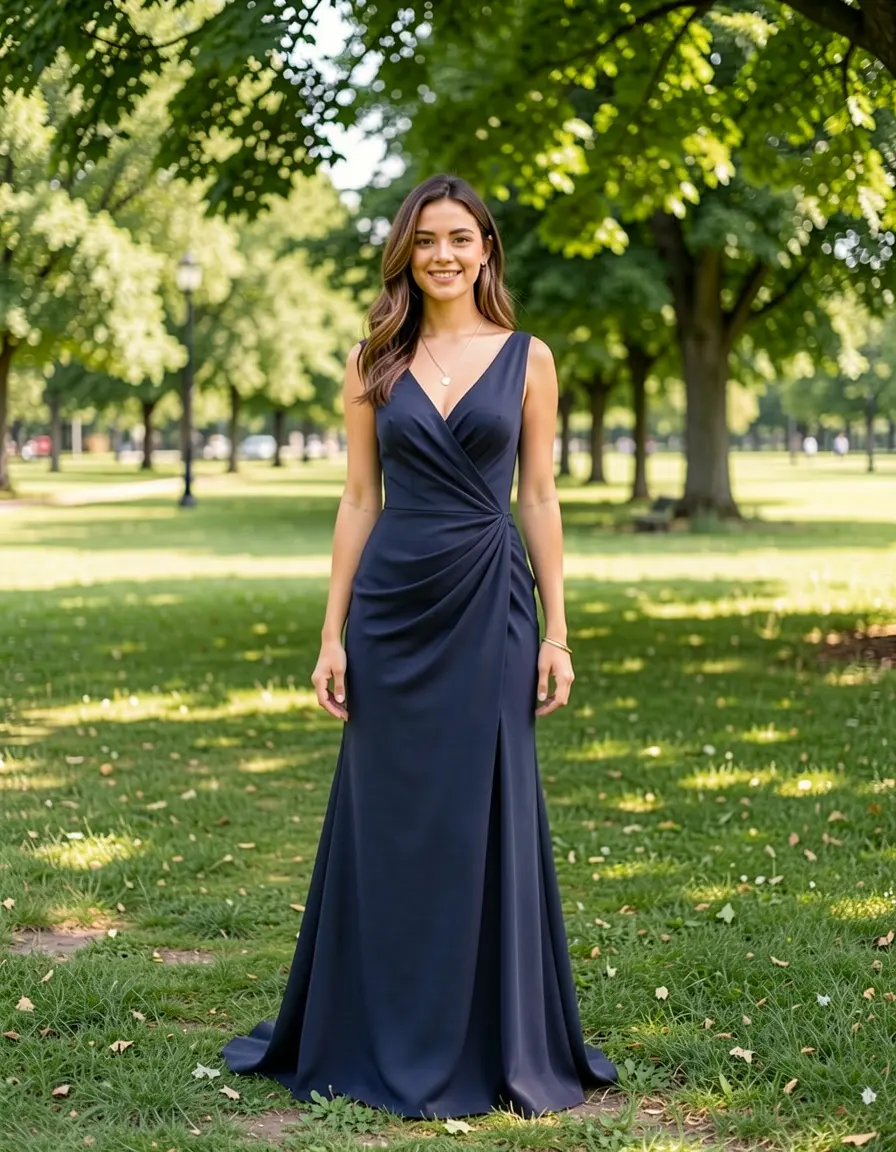
Casual sundress → floor-length navy gown. The dress changed completely — length, material, neckline, draping — while face, hair, pose, and background are preserved. Sandals changed to match the formality level.
The model understood that an evening gown implies a different shoe — it changed the sandals without being asked. This kind of contextual reasoning is what makes text edit powerful for full outfit swaps.
Sundress → business suit
Sundress → tailored charcoal suit with white blouse. The model changed everything: top, bottom, shoes, even the bag. A complete wardrobe transformation in 4 steps.
Reference-based dress transfer
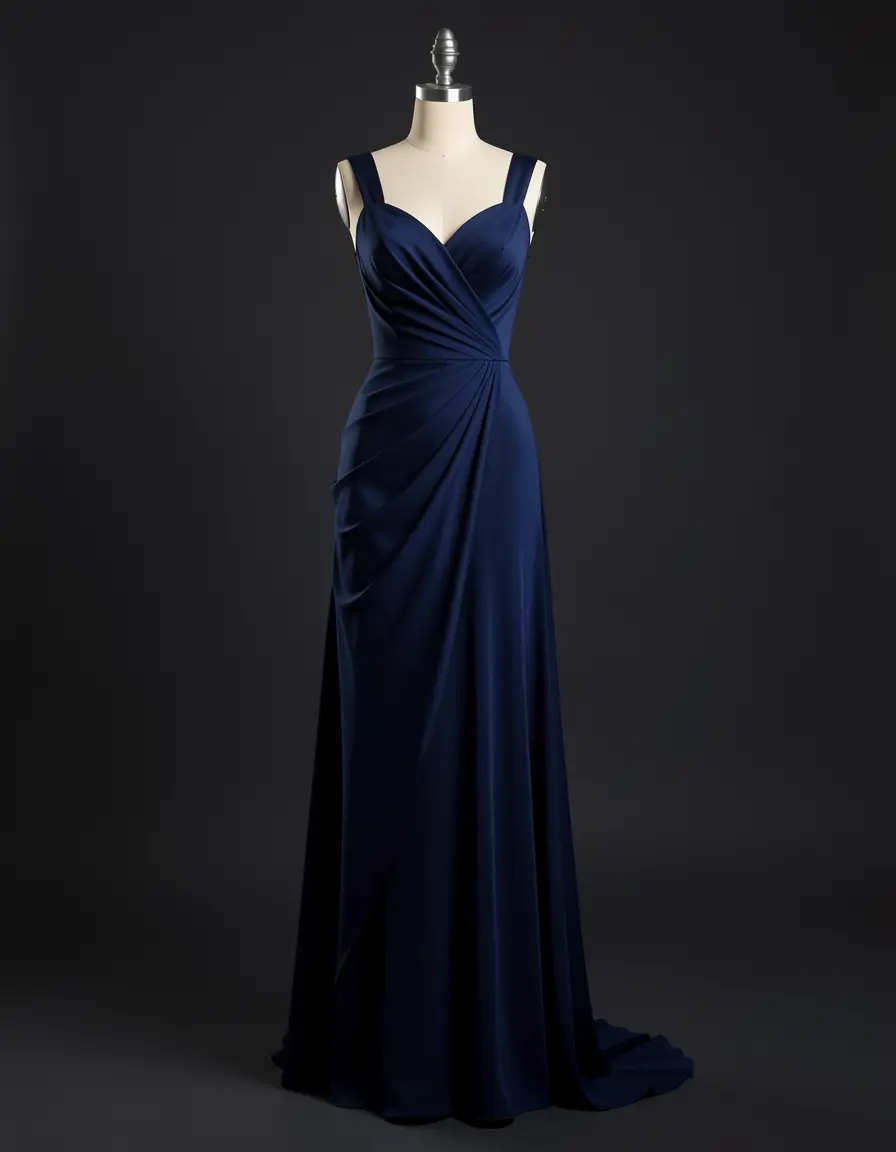
The reference gown's sweetheart neckline and draped fabric transferred from the mannequin to the person. The silhouette adapted to a natural standing pose.
For anything involving the full body — dresses, suits, uniforms — text edit is the only practical method. Inpainting would require masking the entire figure, which gives the model no reference for the person’s body and pose. The result would essentially be a new person in different clothes.
Lower body: pants and trousers
Lower body swaps work well with text edit, though they’re subtler — pants are less visually distinctive than jackets.
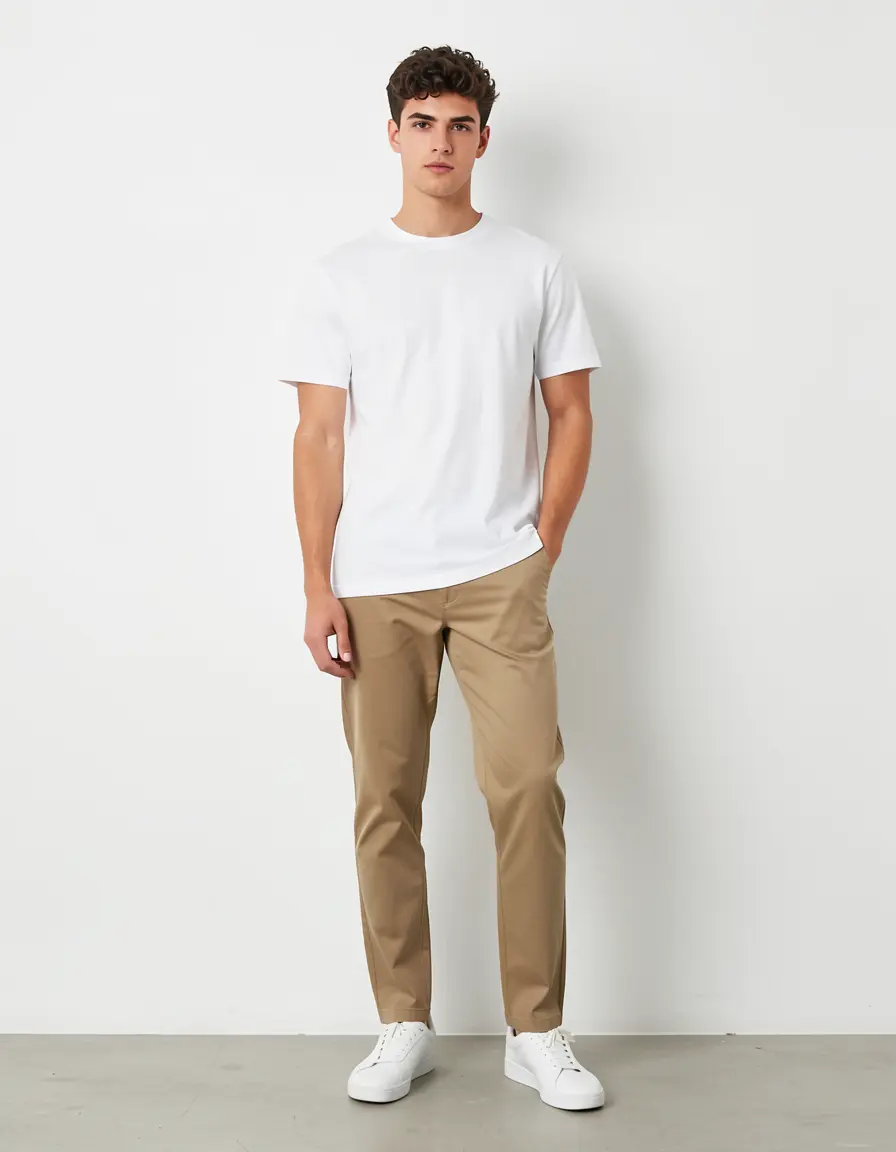
Source — khaki chinos, white t-shirt, clean studio background.
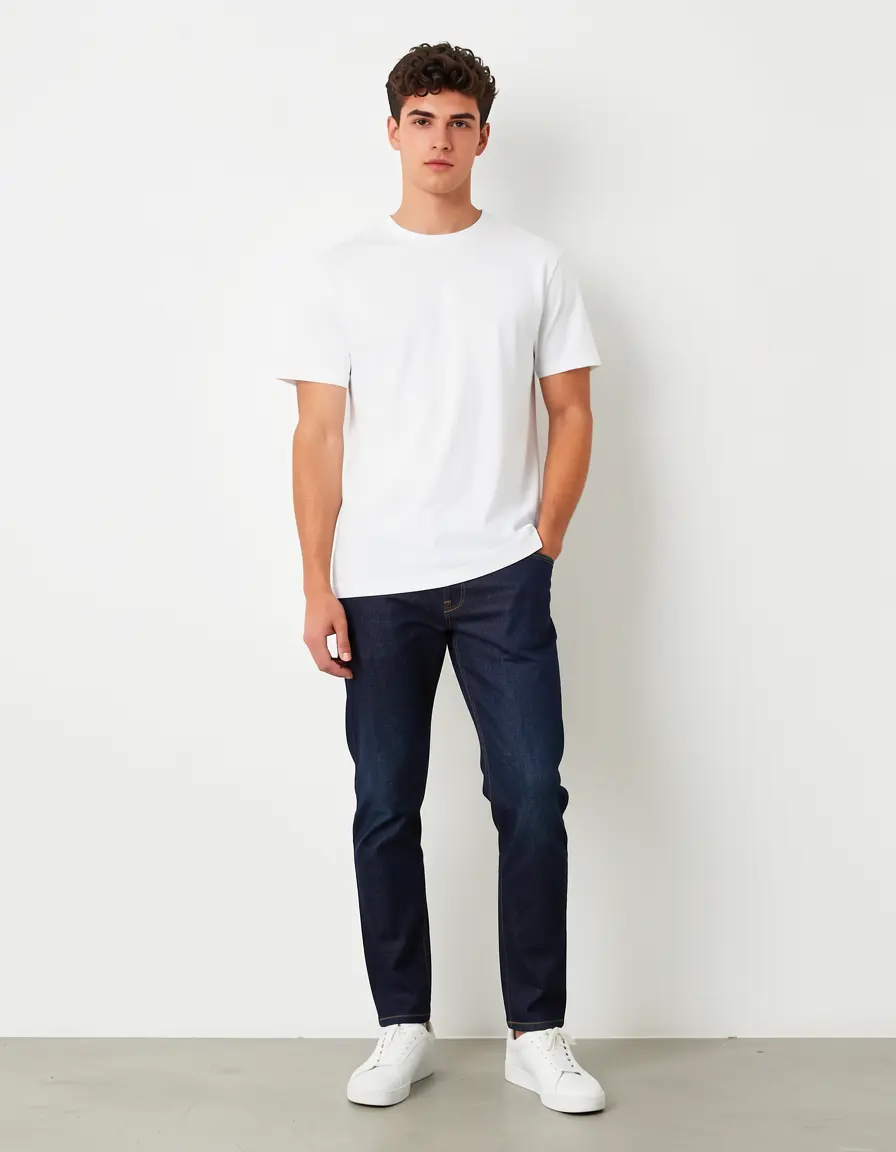
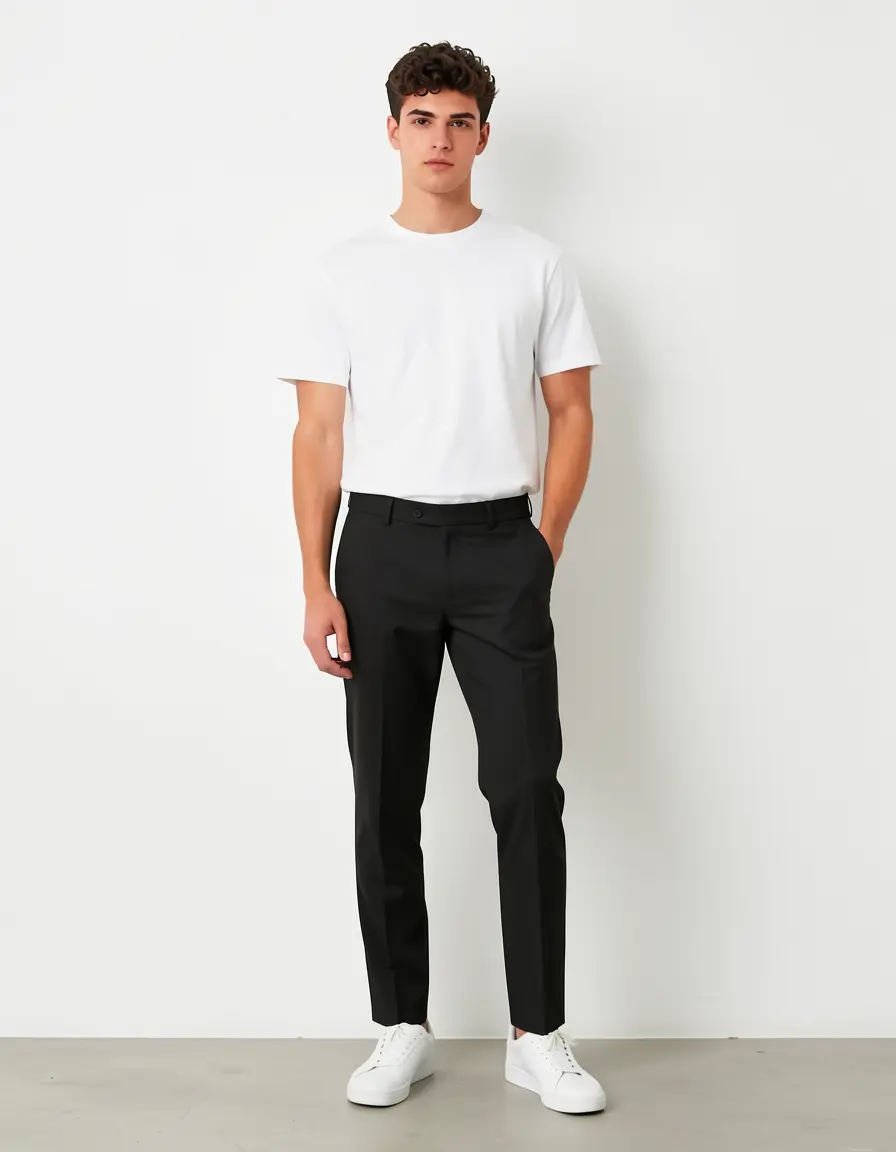
Same person, two pants swaps. Left: khaki → dark indigo jeans (material + color change). Right: khaki → black dress pants (casual → formal). Both preserved the t-shirt, sneakers, and pose.
Be specific about material and color. “Jeans” gives you something generic. “Dark indigo denim jeans” or “black tailored wool dress pants” gives you the right texture and finish.
Accessories: sunglasses, hats, scarves
Accessories are where text edit is unbeatable. Adding a hat or sunglasses takes one command and 4 steps — no mask, no reference, no preprocessing.
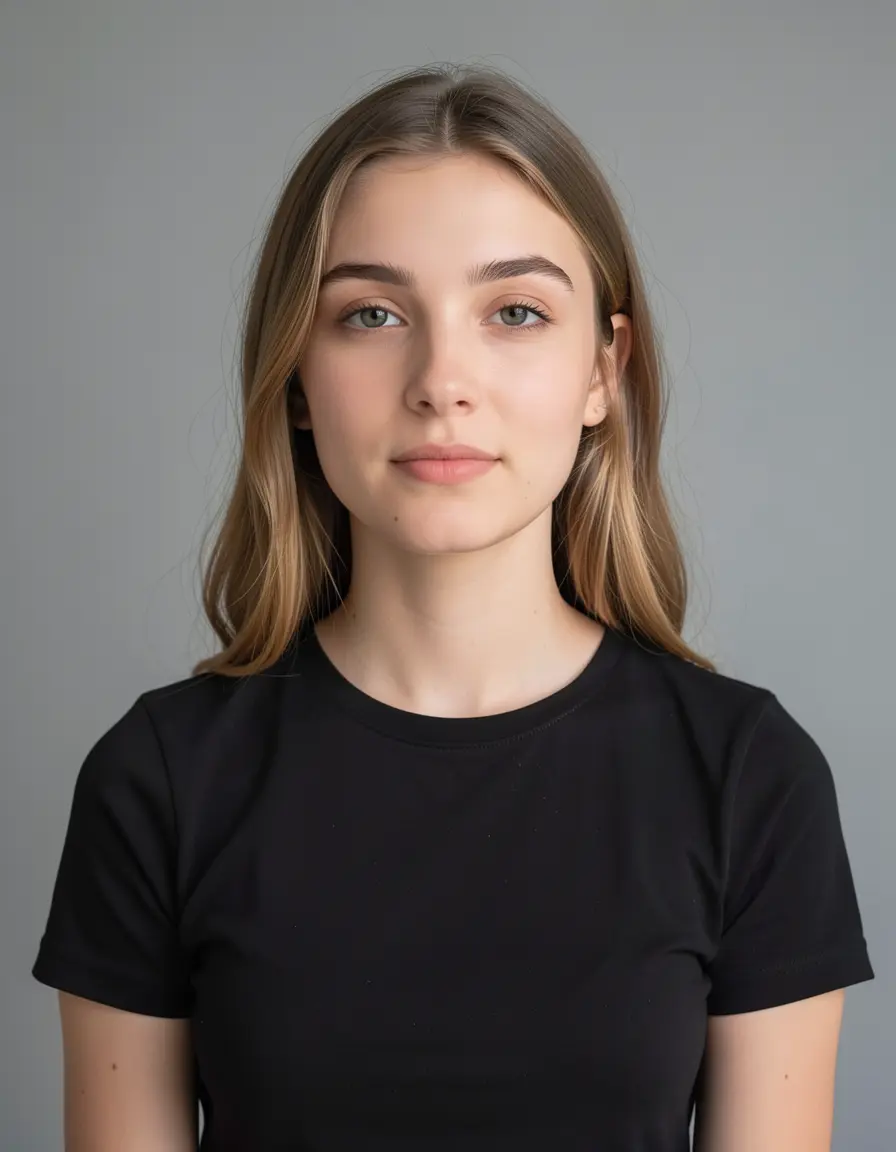
Source — plain black top, no accessories, clean background.
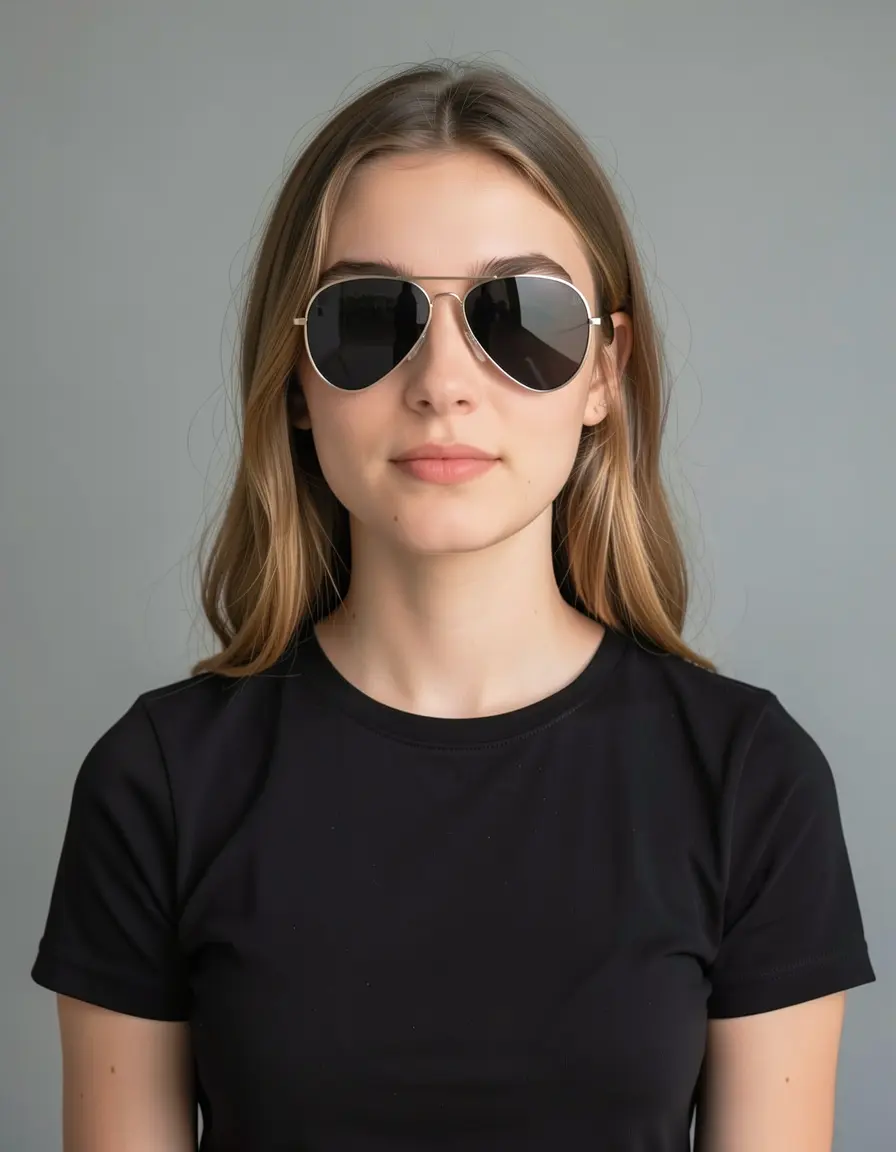
Aviator sunglasses
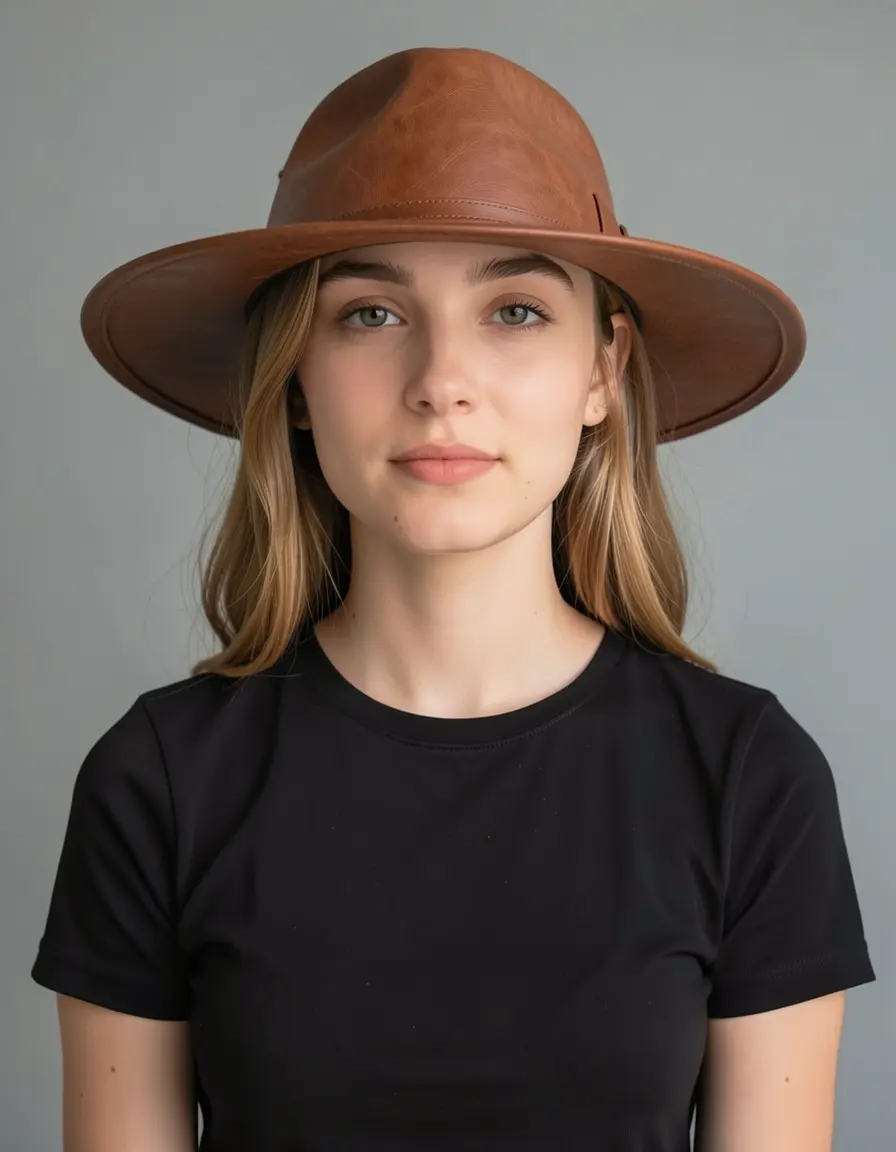
Leather wide-brim hat
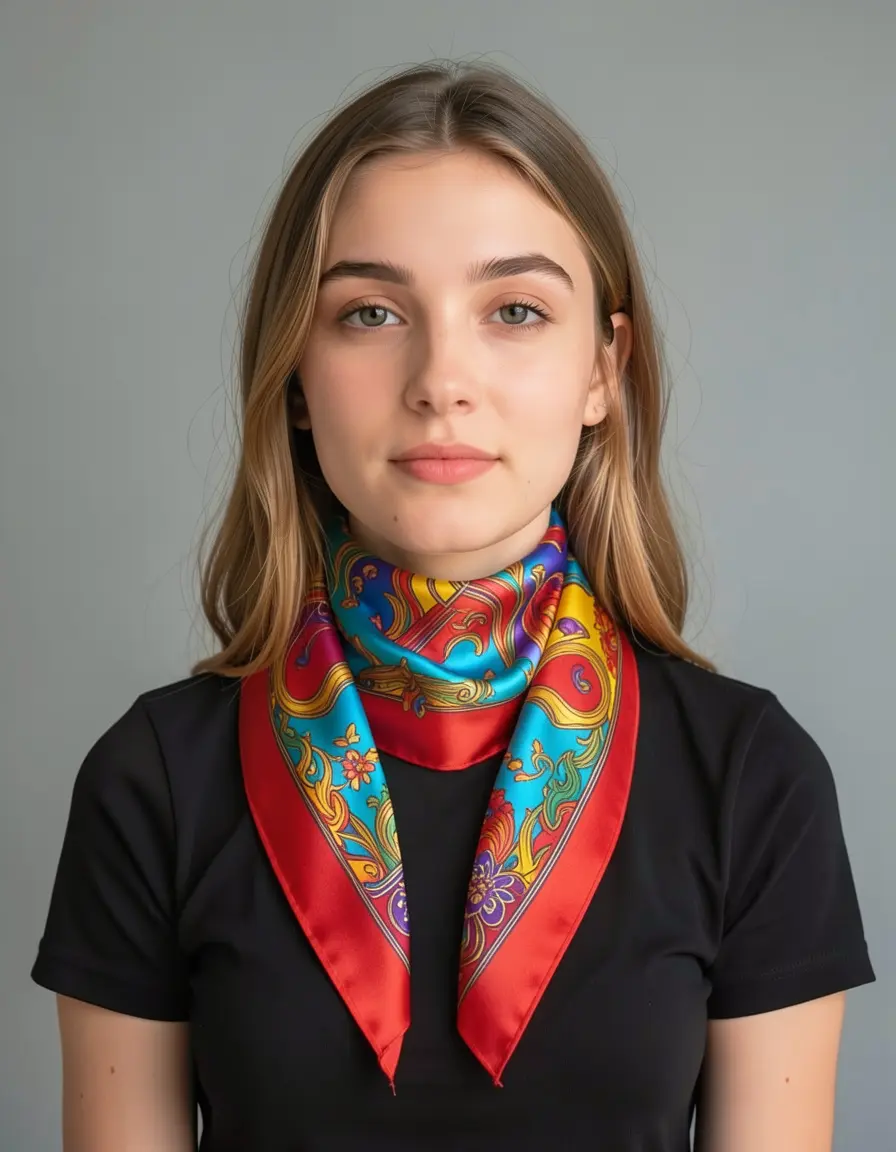
Silk scarf
Three accessories added with three one-line commands. Face identity preserved across all three. The scarf has a complex paisley pattern that the model generated from “colorful silk scarf” — no reference image needed.
You don’t need a mask to add sunglasses. Text edit understands where sunglasses go (on the face), where hats go (on the head), and where scarves go (around the neck). Inpainting adds complexity without benefit here.
Prompt engineering for clothing
The prompt matters more than the method. Here’s what works:
Rules of thumb:
- Name the garment type (“motorcycle jacket” not “jacket”)
- Include material (“leather”, “knit wool”, “silk chiffon”)
- Include color (“dark indigo” not “dark”)
- Include fit when it matters (“tailored”, “oversized”, “slim-fit”)
- For full outfit swaps, describe everything including shoes
Model comparison
Klein 9b is the workhorse. It handles text edits, reference edits, and LanPaint inpainting — covering 90% of VTON tasks in 4 steps. Use specialized models (Flux Fill, Z-Image) only when you need pixel-level inpainting control.
Decision tree
- Can you describe the change in one sentence? → Text edit with Klein 9b
- Do you have a photo of the specific garment? → Reference edit with Klein 9b (
--image source --image ref) - Do you need to change only part of a garment? (collar, sleeve, logo) → Mask + inpaint with Flux Fill
- Are you removing something? (person, object) → Mask + inpaint with Z-Image or LanPaint
- None of the above? → Start with text edit anyway — it handles more than you’d expect
Production pipeline
For production-quality results, chain operations:
The best workflow is often text edit first, then inpaint fixes. Get 80% of the way with a single edit command, then use targeted inpainting to fix specific areas that didn’t come out right.