From Draft to Final: Upscale + Score
Take a generated image from draft to production quality — upscale to 4096px and score to filter your best work. Two commands, one CLI.
You generate an image. The resolution is 1024x1024 — too small for print or a hero banner — and you’re not sure if it’s good enough to use. You open Photoshop.
Or you run two commands.
The pipeline
Generate → score → upscale. modl vision score acts as a quality gate, modl process upscale takes it to production resolution.


1024×1024 → 4096×4096. Score improved from 7.20 to 7.47. Two commands, no Photoshop.
Upscale
modl process upscale uses RealESRGAN (loaded via spandrel) to enlarge images with real detail reconstruction — not interpolation. It generates new texture where pixels didn’t exist. Install with modl pull realesrgan-x4plus.
The difference is visible when you zoom in:

Left: 1024px zoomed in — blocky pixels, dithering artifacts on skin. Right: RealESRGAN 4x — smooth skin texture, individual eyelashes, clean hair strands. Real detail reconstruction, not blur.
Score as a quality gate
modl vision score uses CLIP ViT-L/14 embeddings fed into a LAION aesthetic predictor to rate images from 1-10. No install needed — weights are downloaded automatically on first run. Use it to decide if an image is worth post-processing, and to verify each step improved the result:
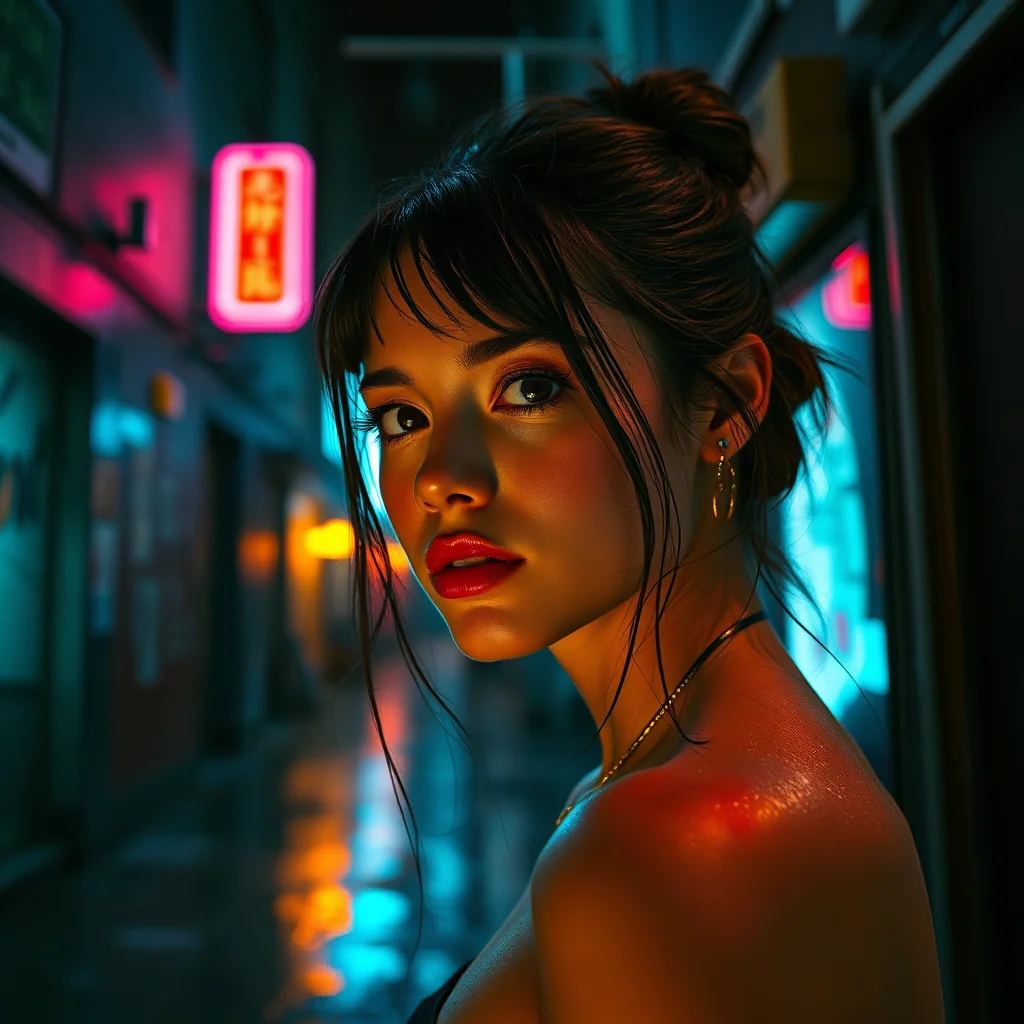
Same prompt, same model, different seeds — scores range from 6.58 to 7.20:
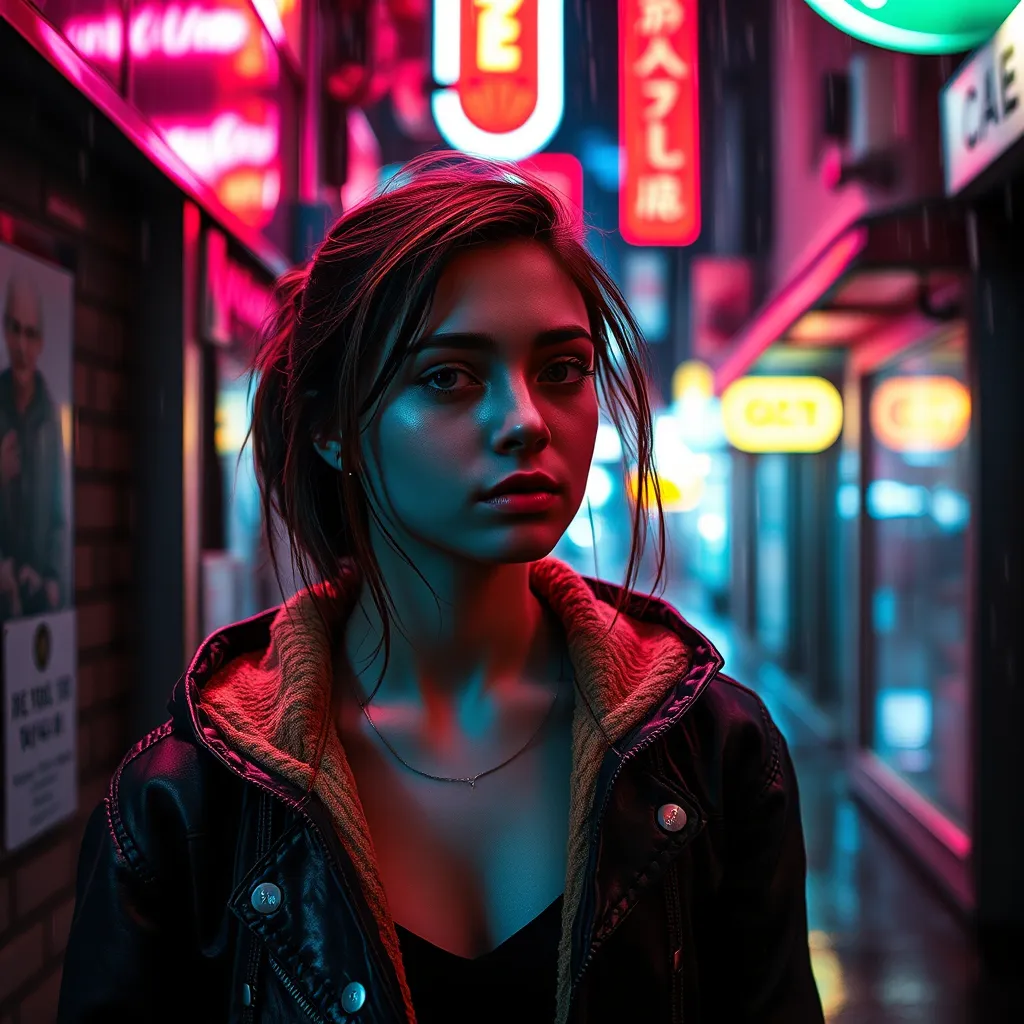
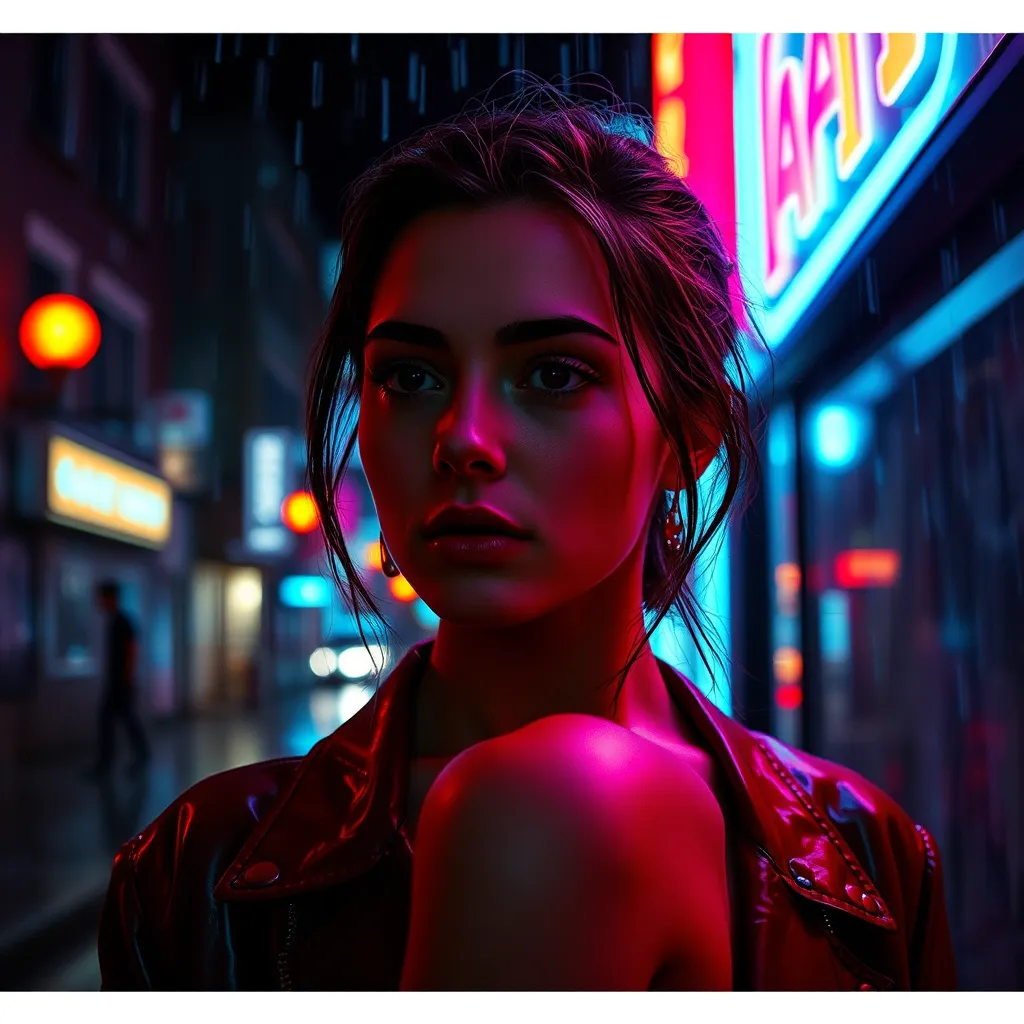

All generated with the same prompt on flux-schnell fp8. The score picks up composition and framing differences — busier backgrounds score lower, clean subject focus scores higher.
Scores above 6.5 are generally usable. Above 7.0 is good. Below 5.0, regenerate instead of trying to fix.
Putting it together
The full pipeline for production-quality images:
modl generate "your prompt" --seed 42
  → modl vision score *.png                     # quality gate: keep >6.5
  → modl process upscale best.png --scale 4      # production resolution
  → modl vision score best_4x.png              # verify improvement
Every step is a standalone command that reads a file and writes a file. No state, no project files, no GUI. An agent can run the entire chain from a single instruction.
For batch workflows, every command accepts directories: